This guide will lead you through the process of integrating Solana wallet adapter in NextJS and using Solana wallets in your application.
We will cover:
- Creating a new Next.js project
- Installing Solana wallet adapter dependencies
- Setting up Solana wallet adapter in your Next.js app
- Adding a connect wallet button
- Utilizing the wallet context in other Next.js pages, using the
useConnectionanduseWallethooks
You can quickly generate a fast, ready-to-go production NextJS project with
the Solana wallet adapter already configured using the
npx create-solana-dapp@latest CLI tool. This tool allows anyone to generate
a customized Solana dApp scaffold, including pre-configured Solana program
templates ready for you to add your custom logic.
1. Create a Next.js project #
Next.js is a React framework for building full-stack web applications. You use React components to build user interfaces and Next.js for additional features and optimizations.
You will need to install Node.js in order to create a Next.js app. We can execute this command, which will create a basic scaffold for us:
npx create-next-app@latestIt will ask you questions about the project name, Typescript, ESlint, tailwind CSS, src directory, using App router or not, and customizing the default import alias. For this guide, we will use all the default and recommended options for now, including using App router.
This is how the directory structure will look like after creating the scaffold:
├── src
│   └── app
│       ├── favicon.ico
│       ├── globals.css
│       ├── layout.tsx
│       └── page.tsx
2. Installing Solana Wallet Adapter #
In order to allow our applications users connect their favorite Solana wallet, we will need to install and use the various Solana wallet adapter packages. These packages contain essential functions, hooks, and React components required to integrate Solana wallets into our NextJS app.
To allow for better composability and smaller production builds, the "standard wallet adapter" functionality is split into a few different packages:
@solana/wallet-adapter-baseincludes functions that detect wallets the user has installed and sign/send transactions from a wallet@solana/wallet-adapter-reactincludes the functionality to help manage the user's wallet state within your React based application, including giving access to hooks likeuseConnectionanduseWallet@solana/wallet-adapter-react-uiprovides several base UI components related to wallet operations, including a wallet connect/disconnect button and wallet selection modal contexts and providers
Install these packages to your Next.js project using your preferred node package manager:
npm install @solana/web3.js \
    @solana/wallet-adapter-base \
    @solana/wallet-adapter-react \
    @solana/wallet-adapter-react-ui \
    @solana/wallet-adapter-wallets \
3. Setting up Wallet Adapter in your Next.js app #
This section will help you set up the Next.js app so that we can use all the Solana wallet features inside all the future pages you create.
Create a components folder and add a file named AppWalletProvider.tsx. We
will export the contents of this file to be used
inside the root layout file.
Your folder structure should look like this:
├── src
│   └── app
│       ├── components
│       │   └── AppWalletProvider.tsx
│       ├── favicon.ico
│       ├── globals.css
│       ├── layout.tsx
│       └── page.tsx
AppWalletProvider.tsx #
The goal of this file will be to export a context provider as a react component that will help us “teleport” data and to use (or change) within all of the context's children components. Effectively allowing all this context's children to easily access all the Solana wallet adapter functionality and facilitate user wallet interactions within your application.
This AppWalletProvider.tsx file we are creating will be rendered on the
client side, NOT the server side. So we will need to add the
"use client" directive to the top of the file to make sure NextJS renders
our context and children on the client side.
First, we will need to import all the dependencies into the file, including the
standard context providers from the wallet adapter packages like
connectionProvider and WalletProvider.
WalletAdapterNetworkis an enum that defines default network values likemainnet-beta,testnet, anddevnet.- the
WalletModalProviderfrom@solana/wallet-adapter-basehas the context of a "connect wallet" button. This button helps you toggle the connect wallet modal component's visibility, allowing your users to select their Solana wallet to connect to your application. UnsafeBurnerWalletAdapteris a react component shipped by the wallet adapter maintainers for testing wallets. This Burner Wallet is the default wallet adapter used in the starter packs. This adapter implements the Wallet Adapter interface but uses an unsafe local keypair to sign messages.
Since we are using the standard wallet adapter UI components, we also must import the provided standard CSS styles required for these react components to be displayed properly in our application. Each of these styles can be easily overridden to customize the look.
Let’s import these dependencies and use them further in the context/provider component we are building:
"use client";

import React, { useMemo } from "react";
import {
  ConnectionProvider,
  WalletProvider,
} from "@solana/wallet-adapter-react";
import { WalletAdapterNetwork } from "@solana/wallet-adapter-base";
import { WalletModalProvider } from "@solana/wallet-adapter-react-ui";
import { clusterApiUrl } from "@solana/web3.js";
// import { UnsafeBurnerWalletAdapter } from "@solana/wallet-adapter-wallets";

// Default styles that can be overridden by your app
require("@solana/wallet-adapter-react-ui/styles.css");
Supported wallets and "wallet standard" #
There are two ways to support the various Solana wallets your user's will want to use within your application:
- Wallets with
wallet-standard
implementation. These wallets will be automatically detected with
@solana/wallet-adapter-baseand do not require you to add any extra code into your application for users to use them. - Wallets with legacy wallet adapters are bundled in an npm package. To support these wallets within your application, you must install and import each of these wallet's legacy adapters into your application.
The most popular Solana wallets already conform to and implement
wallet-standard. So for your user's to use these popular Solana wallets, you
do not need to do anything special within your application. They will work
automatically and be shown to your users (including
Solana Mobile Stack Wallet Adapter).
If there is a specific, non-standard wallet that your users want your
application to support, that is when we recommend manually adding it's legacy
adapter.
Setup the AppWalletProvider #
Our AppWalletProvider component will be used to facilitate the connection to
the desired Solana network cluster (i.e. devnet, mainnet-beta, etc) via our
desired RPC endpoint. This RPC endpoint will be where our application sends the
transactions. In our guide here, we are hardcoded here to use the devnet
network cluster.
In this example, we are also defining an array called wallets. This array
contains any of the legacy wallet adapter wallets you desire to import and
support within your application. Again though, you will likely not need to have
any entries in this array.
// imports here

export default function AppWalletProvider({
  children,
}: {
  children: React.ReactNode;
}) {
  const network = WalletAdapterNetwork.Devnet;
  const endpoint = useMemo(() => clusterApiUrl(network), [network]);
  const wallets = useMemo(
    () => [
      // manually add any legacy wallet adapters here
      // new UnsafeBurnerWalletAdapter(),
    ],
    [network],
  );

  return (
    <ConnectionProvider endpoint={endpoint}>
      <WalletProvider wallets={wallets} autoConnect>
        <WalletModalProvider>{children}</WalletModalProvider>
      </WalletProvider>
    </ConnectionProvider>
  );
}
We pass the endpoint and wallets variables into the ConnectionProvider and
WalletProvider as props to those providers given to us by the wallet adapter
packages. The autoConnect prop is the setting that declares whether your
application should attempt to auto connect to a user's previously connected
wallet when your application loads.
WalletModalProvider has a component called WalletModal which helps your
users select a wallet from a list of available and installed wallets in the
environment (i.e. their web browser). This provider will help that modal toggle
visibility in the children components.
Wrap your application with AppWalletAdapter #
With our AppWalletAdapter context setup and ready-to-go, we need to wrap our
NextJS application with this context to make its APIs, hooks, and state
accessible within the rest of our application and child pages.
Inside your root layout.tsx, import your AppWalletAdapter provider and pass
in the application's children as the children of the AppWalletAdapter
component:
import AppWalletProvider from "./components/AppWalletProvider";

export default function RootLayout({
  children,
}: Readonly<{
  children: React.ReactNode;
}>) {
  return (
    <html lang="en">
      <body>
        <AppWalletProvider>{children}</AppWalletProvider>
      </body>
    </html>
  );
}
With after the steps above completed and AppWalletAdapter setup properly, your
NextJS application is ready to start interacting with user wallets.
4. Connect wallet button #
The "connect wallet" button is a common component that will allow your users to open the "select wallet modal" and chose their desired Solana wallet to connect to your application.
Normally, developers add this connect wallet button component to their primary header component so that the connect button is viewable and accessible to on all other pages. Enabling users to easily connect their wallet wherever they are within your application. However, for the simplicity of this guide, we are adding the wallet connect to the home page:
In your page.tsx at the root of your app folder, import the
WalletMultiButton from @solana/wallet-adapter-react-ui. Then, you can return
that button component from your home page component.
"use client";

import { WalletMultiButton } from "@solana/wallet-adapter-react-ui";

export default function Home() {
  return (
    <main className="flex items-center justify-center min-h-screen">
      <div className="border hover:border-slate-900 rounded">
        <WalletMultiButton style={{}} />
      </div>
    </main>
  );
}
Now start your dev server and see the website served in your browser:
❯ npm run dev

> my-app@0.1.0 dev
> next dev

   ▲ Next.js 14.1.3
   - Local:        http://localhost:3000

 ✓ Ready in 3.1s
Here's a demo of how output should look in your browser with the default styles provided from the wallet adapter packages:
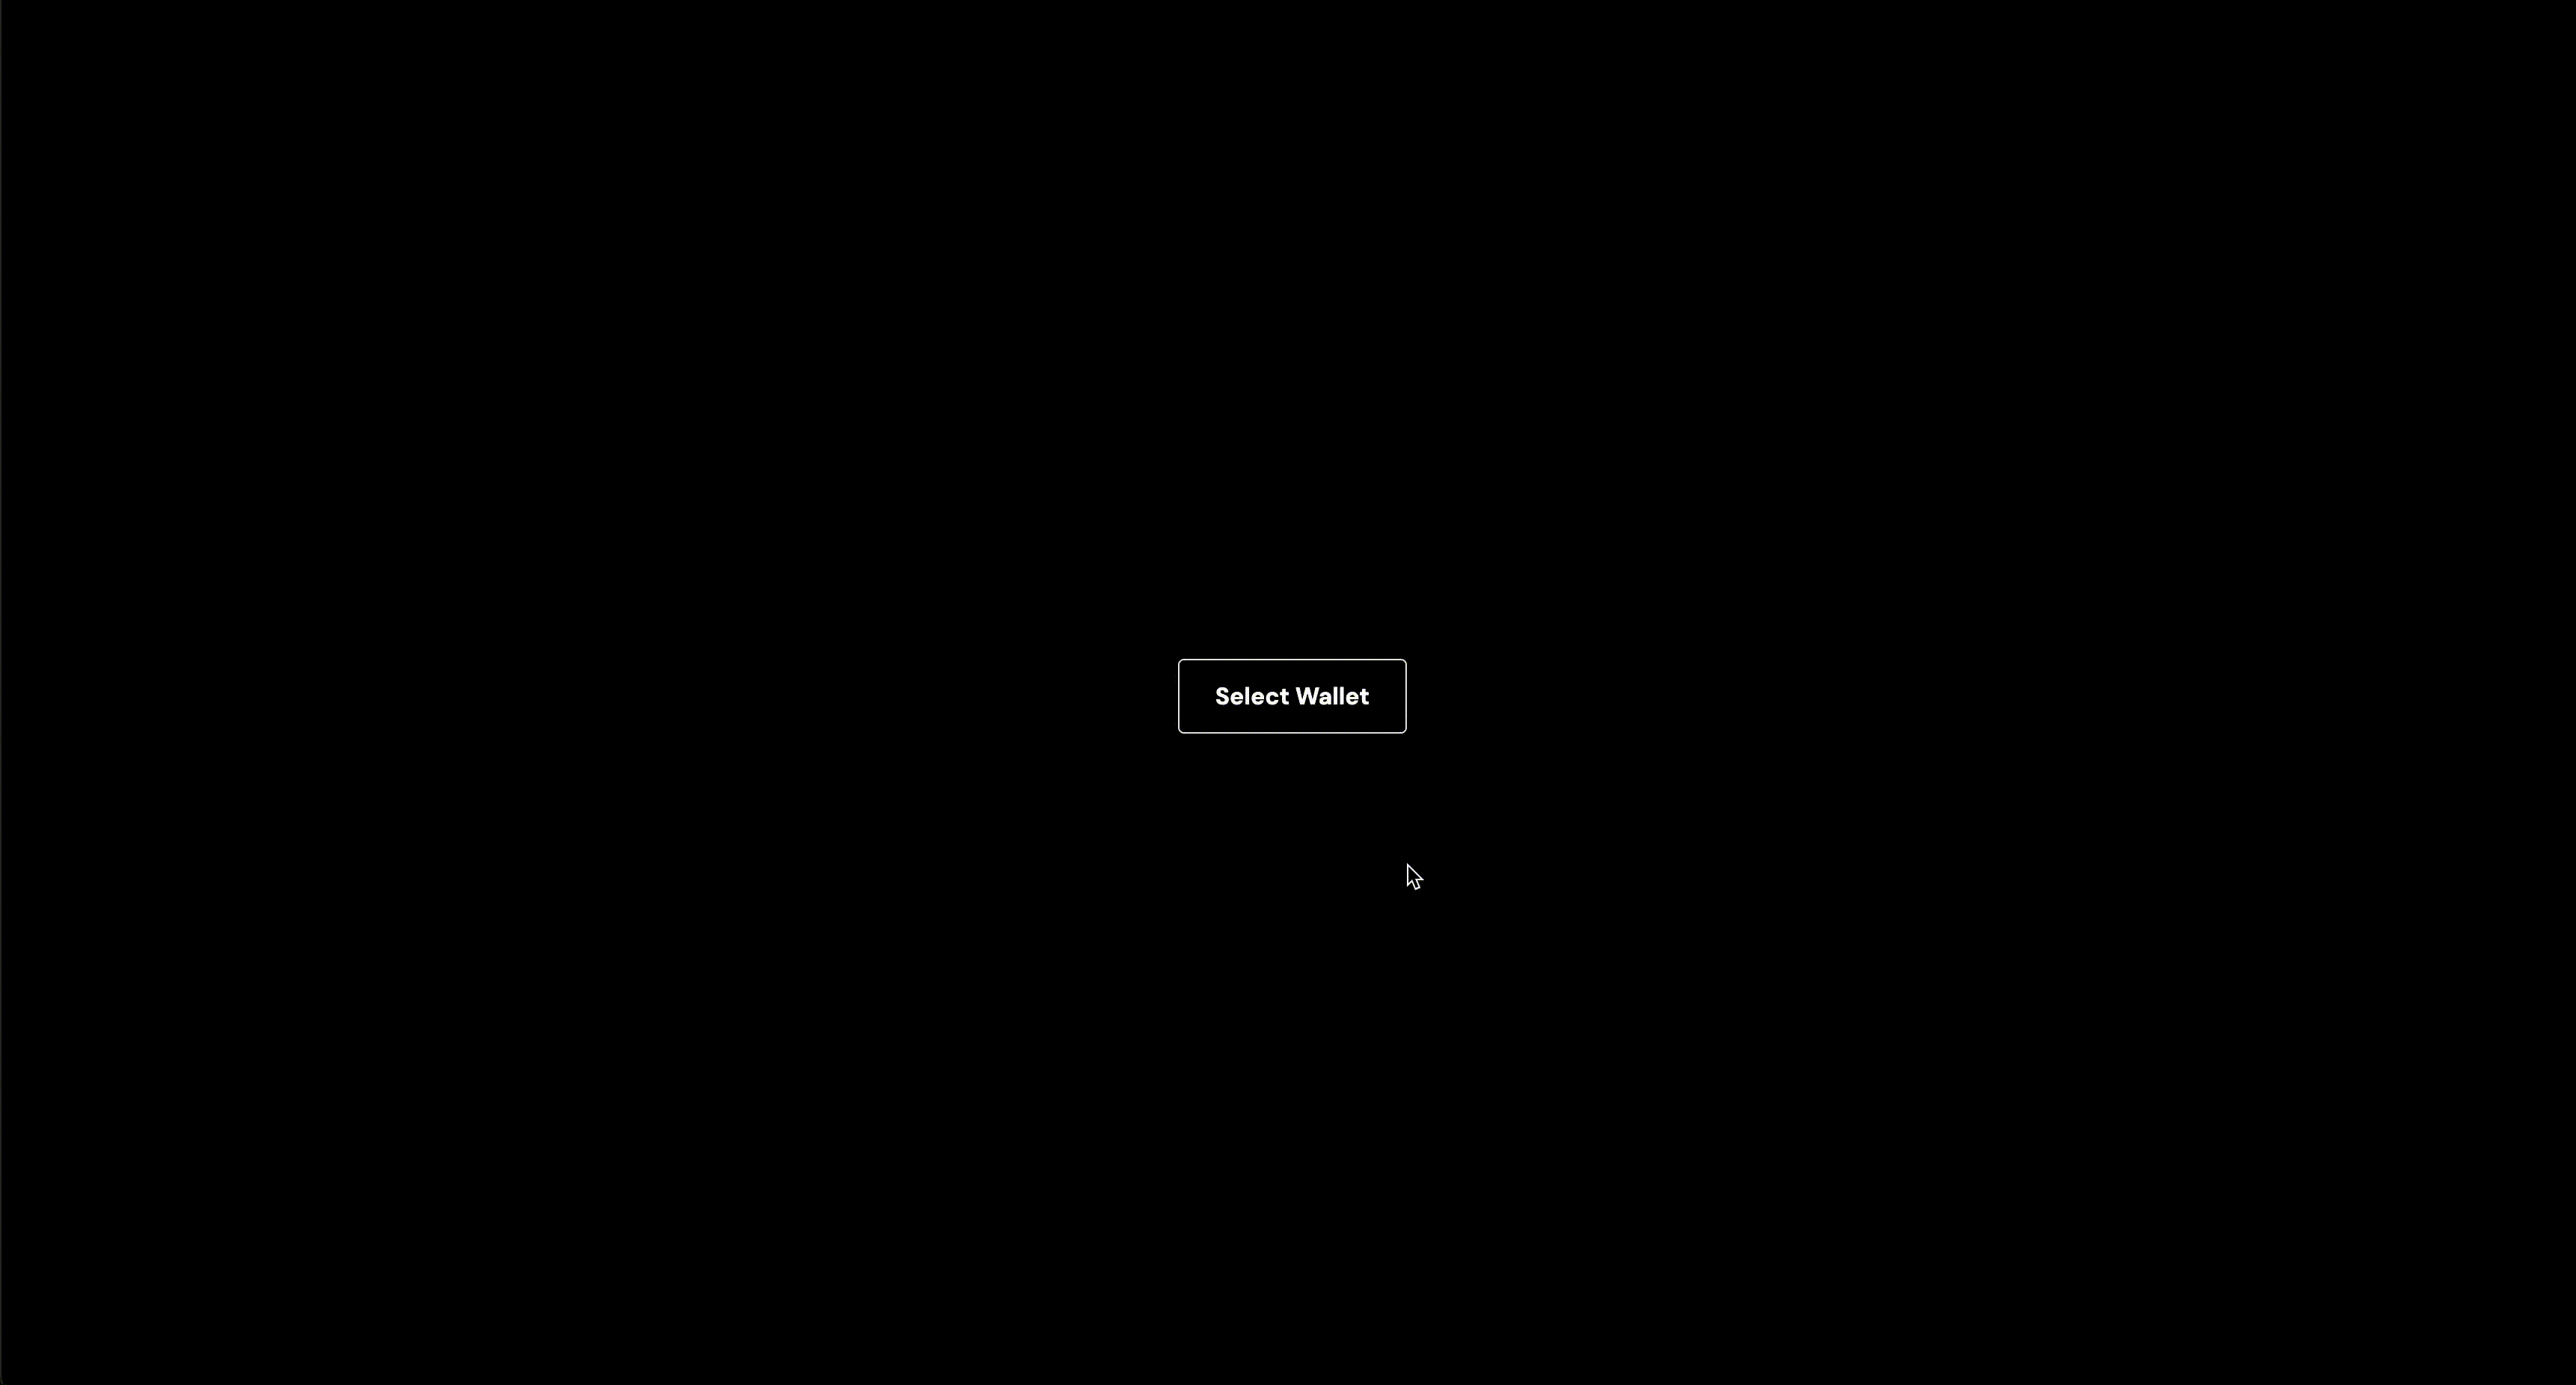 Select and Connect Solana Wallets using Wallet Adapter
5. useWallet and useConnection hooks #
The most common ways your application will interact with your user's Solana
wallet is using the useWallet and useConnection hooks provided by the wallet
adapter packages and accessible to all child components of your
AppWalletAdapter context.
From the @solana/wallet-adapter-react package, you can import the two hooks
named useWallet and useConnection that can be used anywhere on the client
side of your app that is a child of your AppWalletAdapter context. In this
example guide, it will be your entire application.
- the
useWallethook has details likepublicKeyand state of the wallet, whether it’sconnectingor it’sconnected. - the
useConnectionhook will facilitate your application's connection to the Solana blockchain, via your RPC endpoint
Solana uses the JSON-RPC 2.0 spec which is
transport agnostic and can be implemented over HTTP, HTTPS, WebSocket, TCP,
and other transports. This means you can use the connection object returned
from the useConnection hook to get
WebSocket notifications or
sending HTTP requests.
Performing an airdrop #
Here's an example of getting a
devnet SOL airdrop
using the connection and publicKey from useConnection and useWallet
hooks.
This getAirdropOnClick function gets the latest
blockhash
using the
getLatestBlockhash RPC
method. It also gets the transaction signature from the
requestAirdrop
function from the connection. We can also verify whether the transaction
was confirmed and
added to the block, ensuring the airdrop was successful and the SOL is available
for use.
const { connection } = useConnection();
const { publicKey } = useWallet();

const getAirdropOnClick = async () => {
  try {
    if (!publicKey) {
      throw new Error("Wallet is not Connected");
    }
    const [latestBlockhash, signature] = await Promise.all([
      connection.getLatestBlockhash(),
      connection.requestAirdrop(publicKey, 1 * LAMPORTS_PER_SOL),
    ]);
    const sigResult = await connection.confirmTransaction(
      { signature, ...latestBlockhash },
      "confirmed",
    );
    if (sigResult) {
      alert("Airdrop was confirmed!");
    }
  } catch (err) {
    alert("You are Rate limited for Airdrop");
  }
};
Getting a wallet balance #
Here’s an example of getting the SOL balance of the wallet connected using the
useConnection and useWallet hooks.
getBalance is an RPC
HTTP method you can call from the connection object to get the SOL balance of
any Solana account (like a user's wallet). Calling this function with
setTimeout is good for checking the balance continuously every 10 seconds:
const [balance, setBalance] = useState<number>(0);

useEffect(() => {
  if (publicKey) {
    (async function getBalanceEvery10Seconds() {
      const newBalance = await connection.getBalance(publicKey);
      setBalance(newBalance / LAMPORTS_PER_SOL);
      setTimeout(getBalanceEvery10Seconds, 10000);
    })();
  }
}, [publicKey, connection, balance]);
Interact with a wallet on a page #
With functions like these and the ones provided within the wallet adapter packages, you can detect whether the user's wallet is connected or not, create a button to get an airdrop of devnet or sol in the network defined, and more.
Let’s make another page now to demonstrate how we can use each of these hooks to
access actually access the connection object and your user's wallet state to
send or sign transactions, read the wallet balance, and test functionality.
Create a new folder inside the app folder and name it address. Create a file
page.tsx inside that folder. In this example, our new page will be located at
src/app/address/page.tsx:
├── src
│   └── app
│       ├── address
│       │   └── page.tsx
│       ├── components
│       │   └── AppWalletProvider.tsx
│       ├── favicon.ico
│       ├── globals.css
│       ├── layout.tsx
│       └── page.tsx
In side of your new page, we can create use utilize the hooks and custom function we discussed above to allow the user to actually perform these interactions with their Solana wallet of choice:
"use client";
import { useConnection, useWallet } from "@solana/wallet-adapter-react";
import { LAMPORTS_PER_SOL } from "@solana/web3.js";
import { useEffect, useState } from "react";

export default function Address() {
  const { connection } = useConnection();
  const { publicKey } = useWallet();
  const [balance, setBalance] = useState<number>(0);

  // code for the `getAirdropOnClick` function here

  // code for the `getBalanceEvery10Seconds` and useEffect code here

  return (
    <main className="flex min-h-screen flex-col items-center justify-evenly p-24">
      {publicKey ? (
        <div className="flex flex-col gap-4">
          <h1>Your Public key is: {publicKey?.toString()}</h1>
          <h2>Your Balance is: {balance} SOL</h2>
          <div>
            <button
              onClick={getAirdropOnClick}
              type="button"
              className="text-gray-900 bg-white border border-gray-300 focus:outline-none hover:bg-gray-100 focus:ring-4 focus:ring-gray-100 font-medium rounded-lg text-sm px-5 py-2.5 me-2 mb-2 dark:bg-gray-800 dark:text-white dark:border-gray-600 dark:hover:bg-gray-700 dark:hover:border-gray-600 dark:focus:ring-gray-700"
            >
              Get Airdrop
            </button>
          </div>
        </div>
      ) : (
        <h1>Wallet is not connected</h1>
      )}
    </main>
  );
}
Here's what your address page will look like when the wallet is connected on the home page.
 Example "address" page that uses the Solana wallet adapter hooks
Next Steps #
-
You can use the
useWallethook to trigger a user's connected Solana wallet to ask then to sign a transaction or a plain message that your application provides to the wallet -
You can call any RPC method from the
connectionobject (via theuseConnectionhook) -
You can also checkout the Unified Wallet Kit from the creators of Jupiter. It is an open-sourced wallet adapter alternative that adds some extra functionality, striving for the best Solana wallet integration experience for developers and the best wallet experience for your users.
If you are creating a brand new application or project, you can also use the
create-solana-dapp CLI took to generate a scaffold with the built-in Solana
wallet adapter. To scaffold a new application, run the CLI tool in your
terminal:
npx create-solana-dapp@latestIt will prompt you for common information (like your project name and desired frontend framework) and will generate a customized project, fully configured with Solana wallet adapter configured and ready for your users.