Welcome to the Solana quick start guide! This hands-on guide will introduce you to the Solana Playground (Solpg), where you can learn core-concepts, regardless of your prior experience. In this tutorial, you will learn about:
- Solana accounts: How the Solana network stores data
- Sending transactions: How to interact with the Solana network by sending transactions
- Building and deploying programs: Create your first Solana program and deploy it to the network
- Program-Derived addresses: Learn how to create deterministic addresses for accounts
- Cross-Program Invocations: Learn how to call other programs from within your program, enabling complex interactions and program composability
The Solana Playground
The Solana Playground is a browser-based development environment that allows you to develop, deploy, and test Solana programs without installing anything locally. Follow along, copy, and paste code, and see results immediately. Basic programming knowledge helps but is not required. Time to dive in and start building with Solana!
As a new user, the first step to interacting with the Solana Playground is to create a Playground wallet and add SOL. This wallet will allow you to interact with the Solana network directly from your browser.
Create a Playground wallet
Navigate to the Solana Playground
Using your web browser, navigate to the Solana Playground.
Connect to the Playground
Click the 🔴 Not connected text at the bottom left corner of the screen.
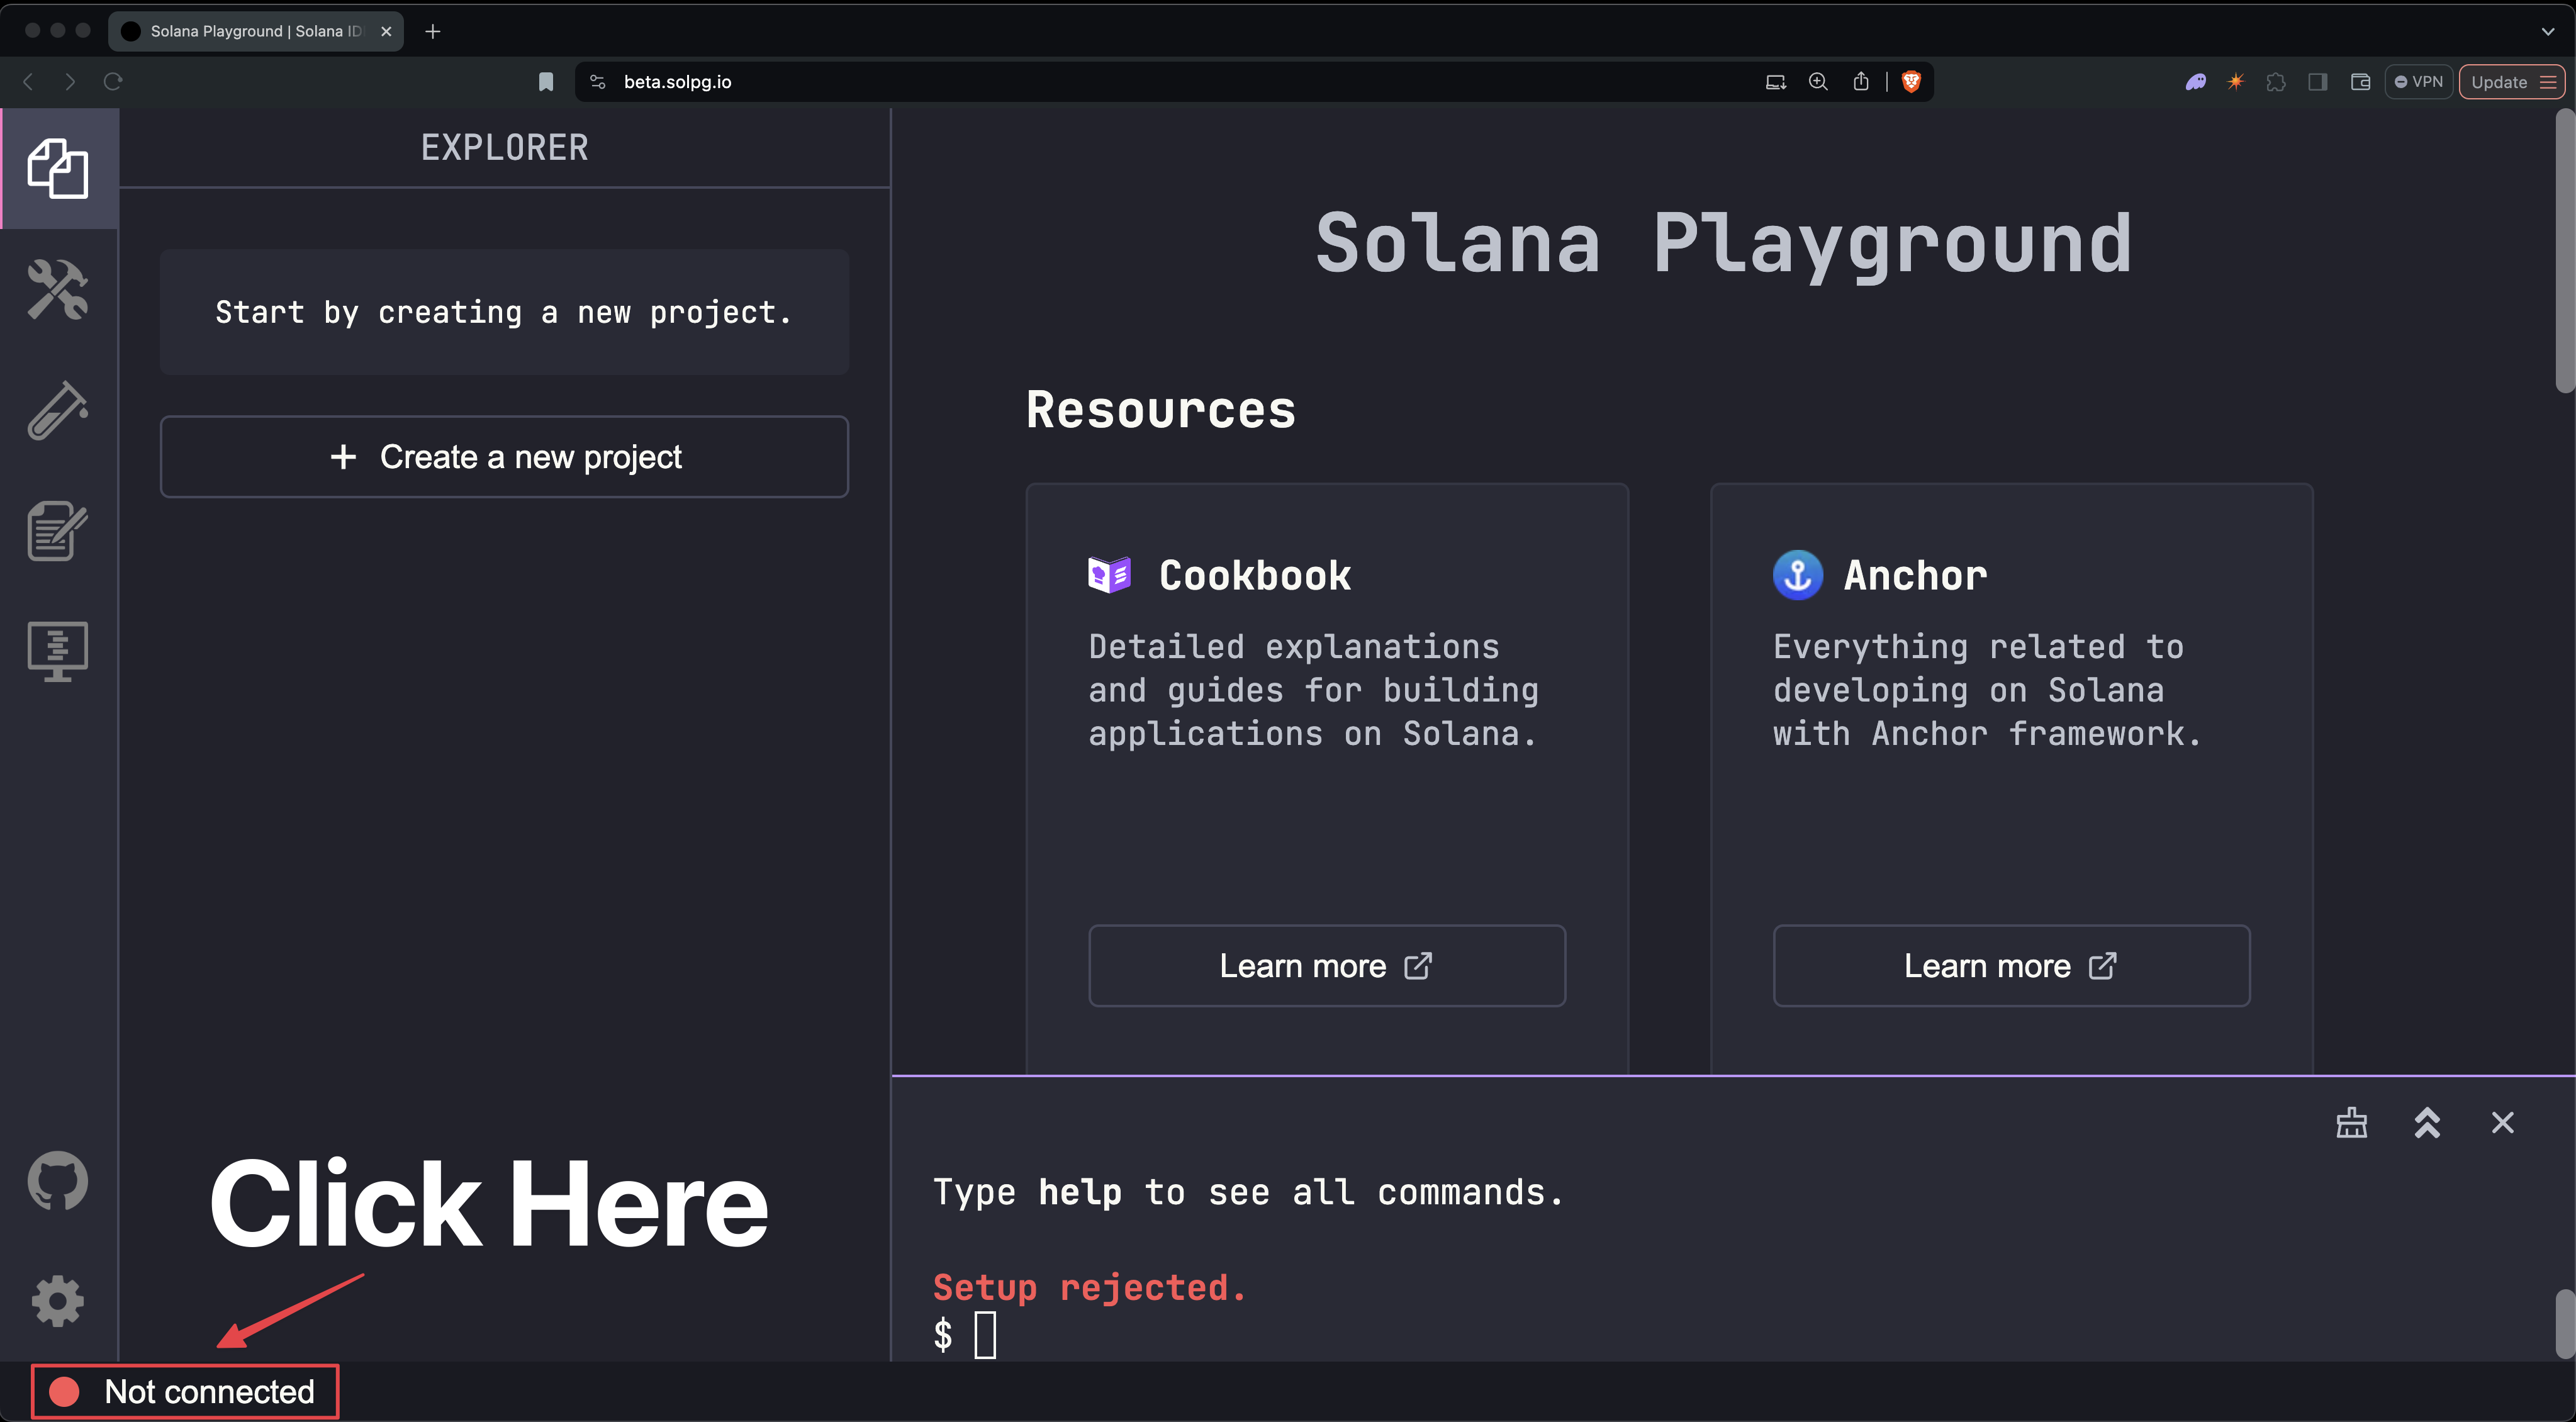 Not Connected
Save your keypair
Click Save keypair to save your key pair locally. When you're ready, click Continue.
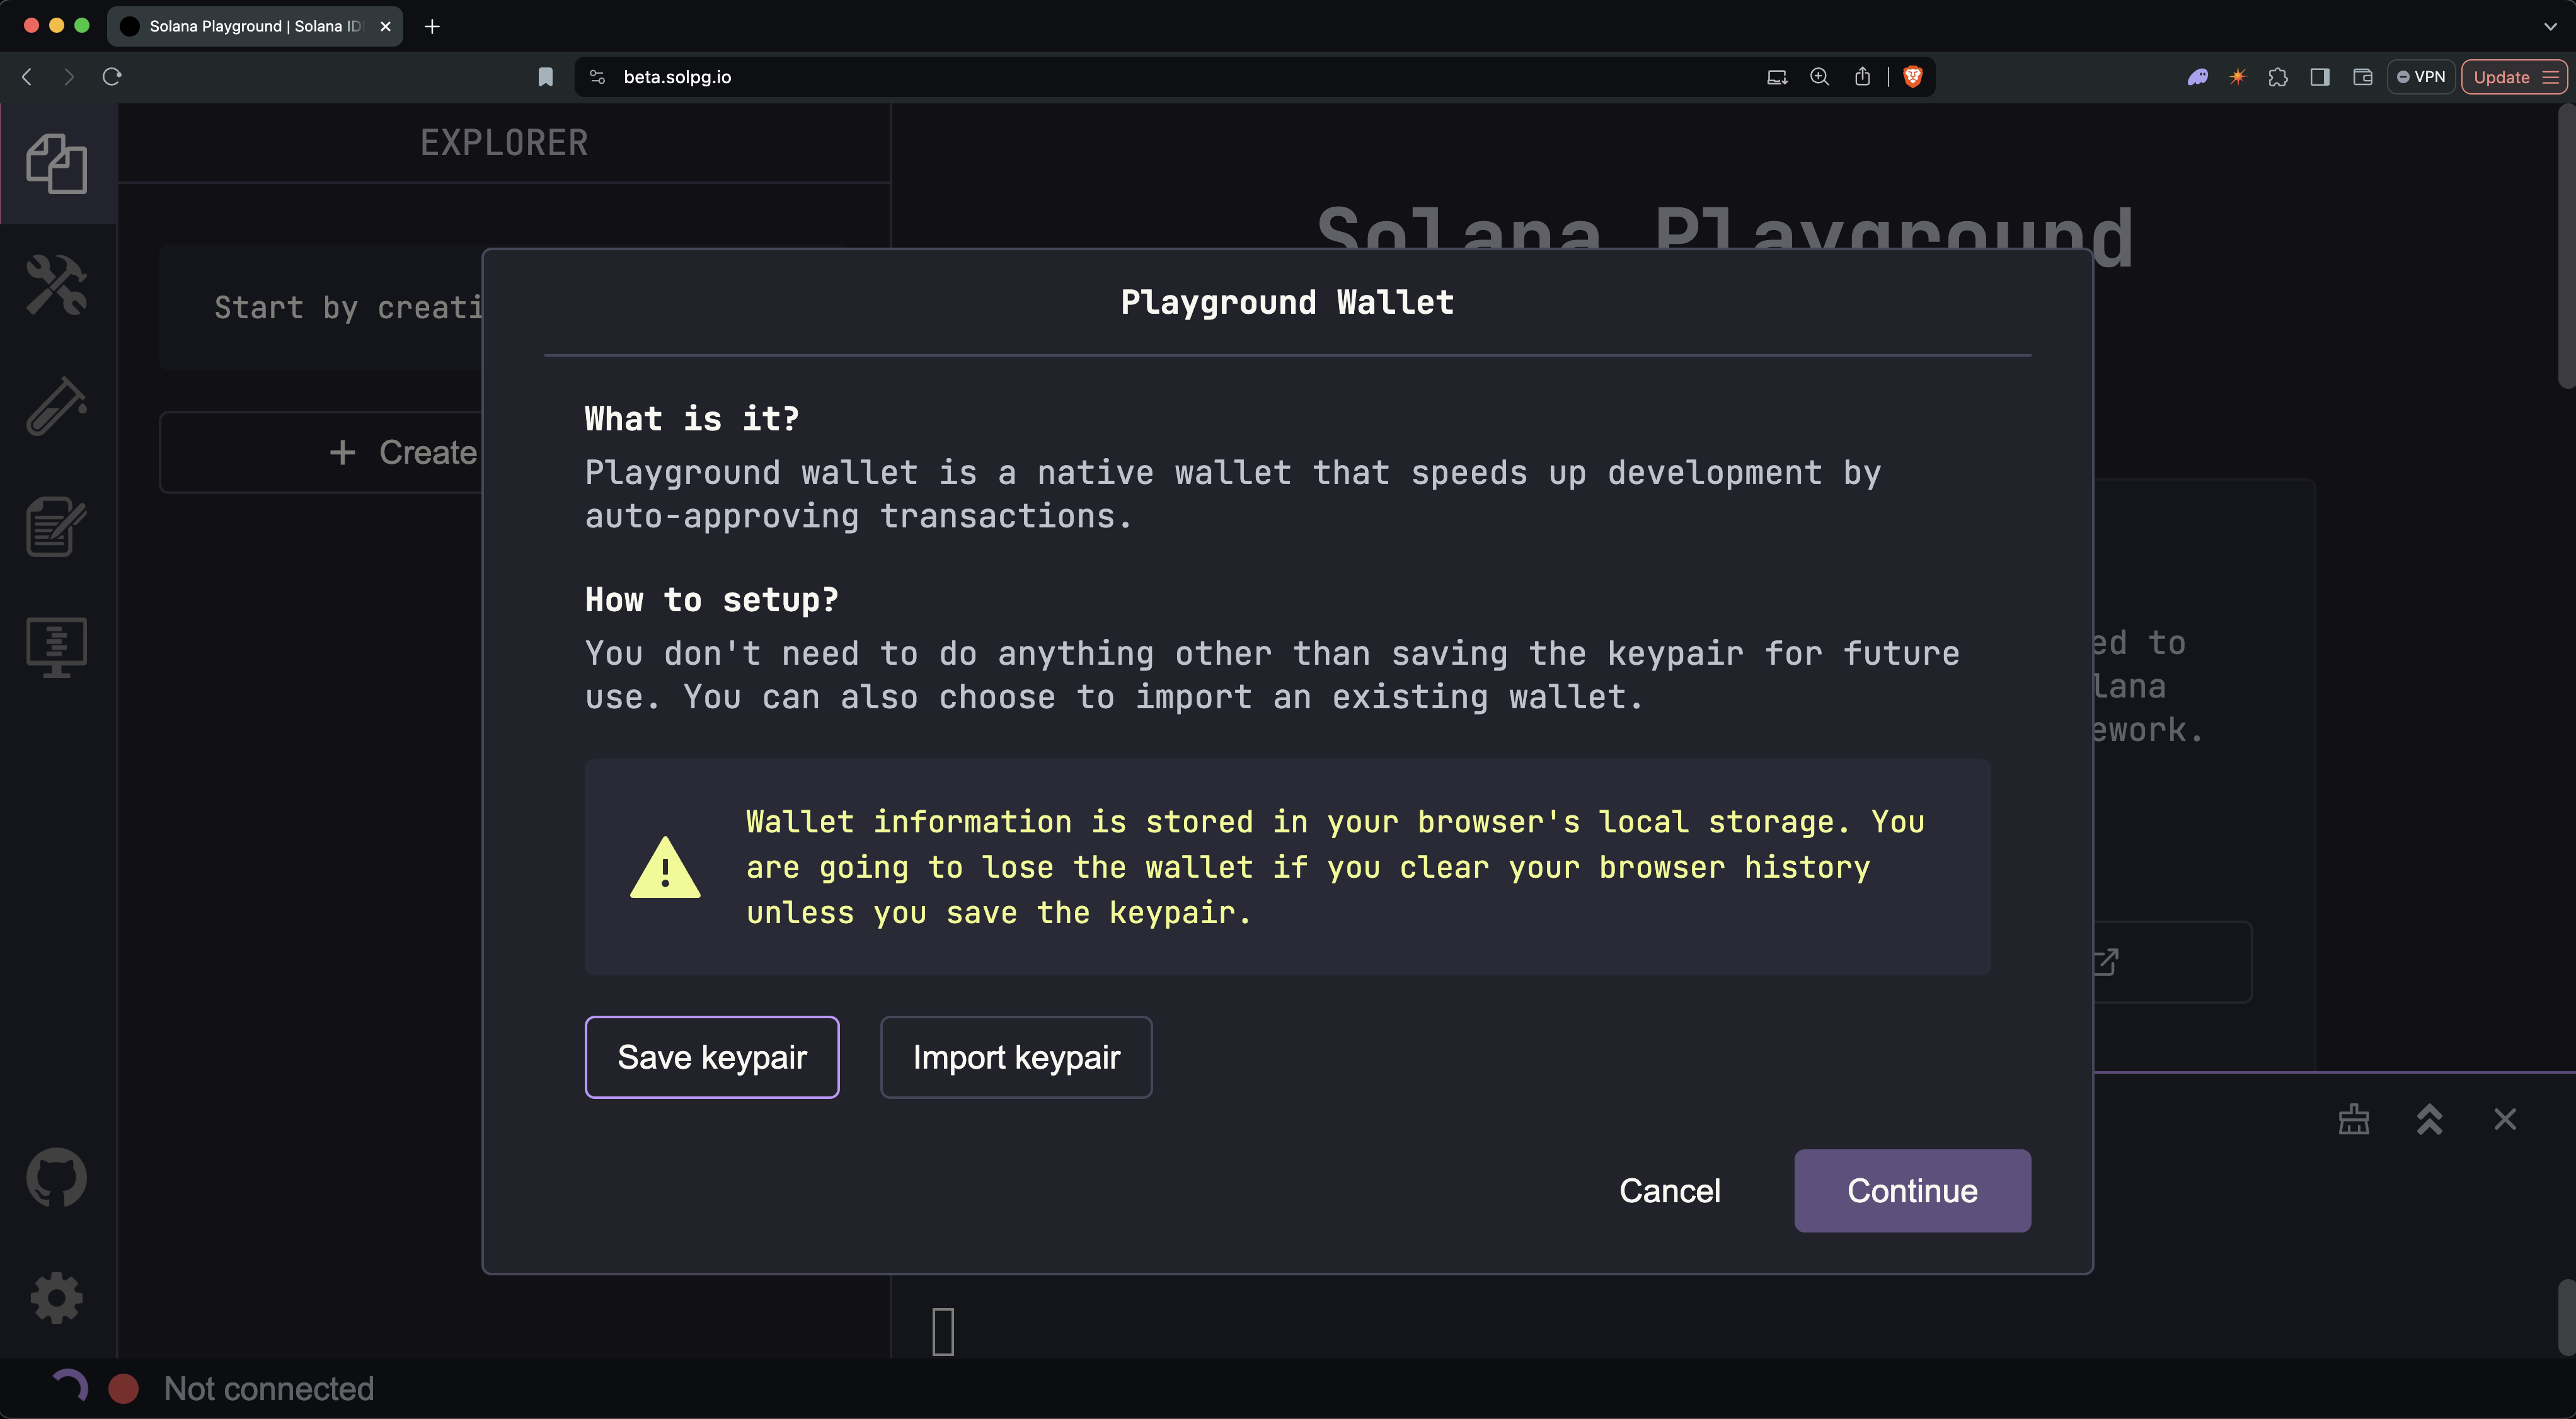 Create Playground Wallet
At the bottom of the screen, you will see that you are now connected to the
Playground wallet. You will also see the
connected cluster (devnet),
the wallet address, and your
SOL balance.
 Connected
Your browser's local storage saves your Playground wallet. Clearing your browser cache will remove your saved wallet.
Use your Playground wallet for testing and development only. Never send real
assets (from mainnet) to
this address.
Congratulations! You created your first Solana Wallet. You are now ready to add SOL to your wallet.
Add SOL to your wallet
Before starting development, you need to add devnet SOL to your wallet. As a developer, SOL is used for two main use cases:
- To create new accounts for storing data or deploying programs
- Paying transaction fees when interacting with the Solana network
You can add devnet SOL to your wallet using the Playground terminal or with the Devnet Faucet. Each option is described below:
Option 1: Use the Playground terminal
Run the following command in the Playground terminal:
$solana airdrop 5
Option 2: Use the Devnet faucet
If option 1 fails, due to rate limits or other errors, use Solana's Web Faucet.
- Enter your wallet address
- Select an amount
- Click Confirm Airdrop
 Faucet Airdrop
Is this page helpful?