Build, deploy, and test your first program to the Solana Blockchain using the Anchor framework. This guide will help you become more familiar with the Solana Playground and prepare you to use program derived addresses (PDA) and cross-program invocation (CPI).
Create Anchor Project
- Open the Solana Playground in your web browser
- On the left panel, click + Create a new project
- Enter a Project name
- Select Anchor (Rust) as the framework
- Click Create
 New Project
The src/lib.rs source file will open. It contains one struct called
Initialize, which does the following:
- Receives a required parameter called
data: u64 - Creates a new account
- Saves the value of
data: u64to the new account - Adds a message to the transaction's program logs
use anchor_lang::prelude::*;// This is your program's public key and it will update// automatically when you build the project.declare_id!("11111111111111111111111111111111");#[program]mod hello_anchor {use super::*;pub fn initialize(ctx: Context<Initialize>, data: u64) -> Result<()> {ctx.accounts.new_account.data = data;msg!("Changed data to: {}!", data); // Message will show up in the tx logsOk(())}}#[derive(Accounts)]pub struct Initialize<'info> {// We must specify the space in order to initialize an account.// First 8 bytes are default account discriminator,// next 8 bytes come from NewAccount.data being type u64.// (u64 = 64 bits unsigned integer = 8 bytes)#[account(init,payer = signer,space = 8 + 8)]pub new_account: Account<'info, NewAccount>,#[account(mut)]pub signer: Signer<'info>,pub system_program: Program<'info, System>,}#[account]pub struct NewAccount {data: u64}
Build and Deploy the Program
- Compile the program code
$build
Your program ID, defined in
declare_id!(), will now be updated.
- Add SOL to your wallet (Optional)
Deploying a program requires SOL in the program's onchain account. If necessary, add SOL to your wallet before proceeding to step 3.
- Deploy the program to the network
$deploy
When deployed, the program's bytecode is stored in an executable program account.
Note: If preferred, you can use the Build and Deploy buttons on the left-side panel, as shown in the screenshot below.
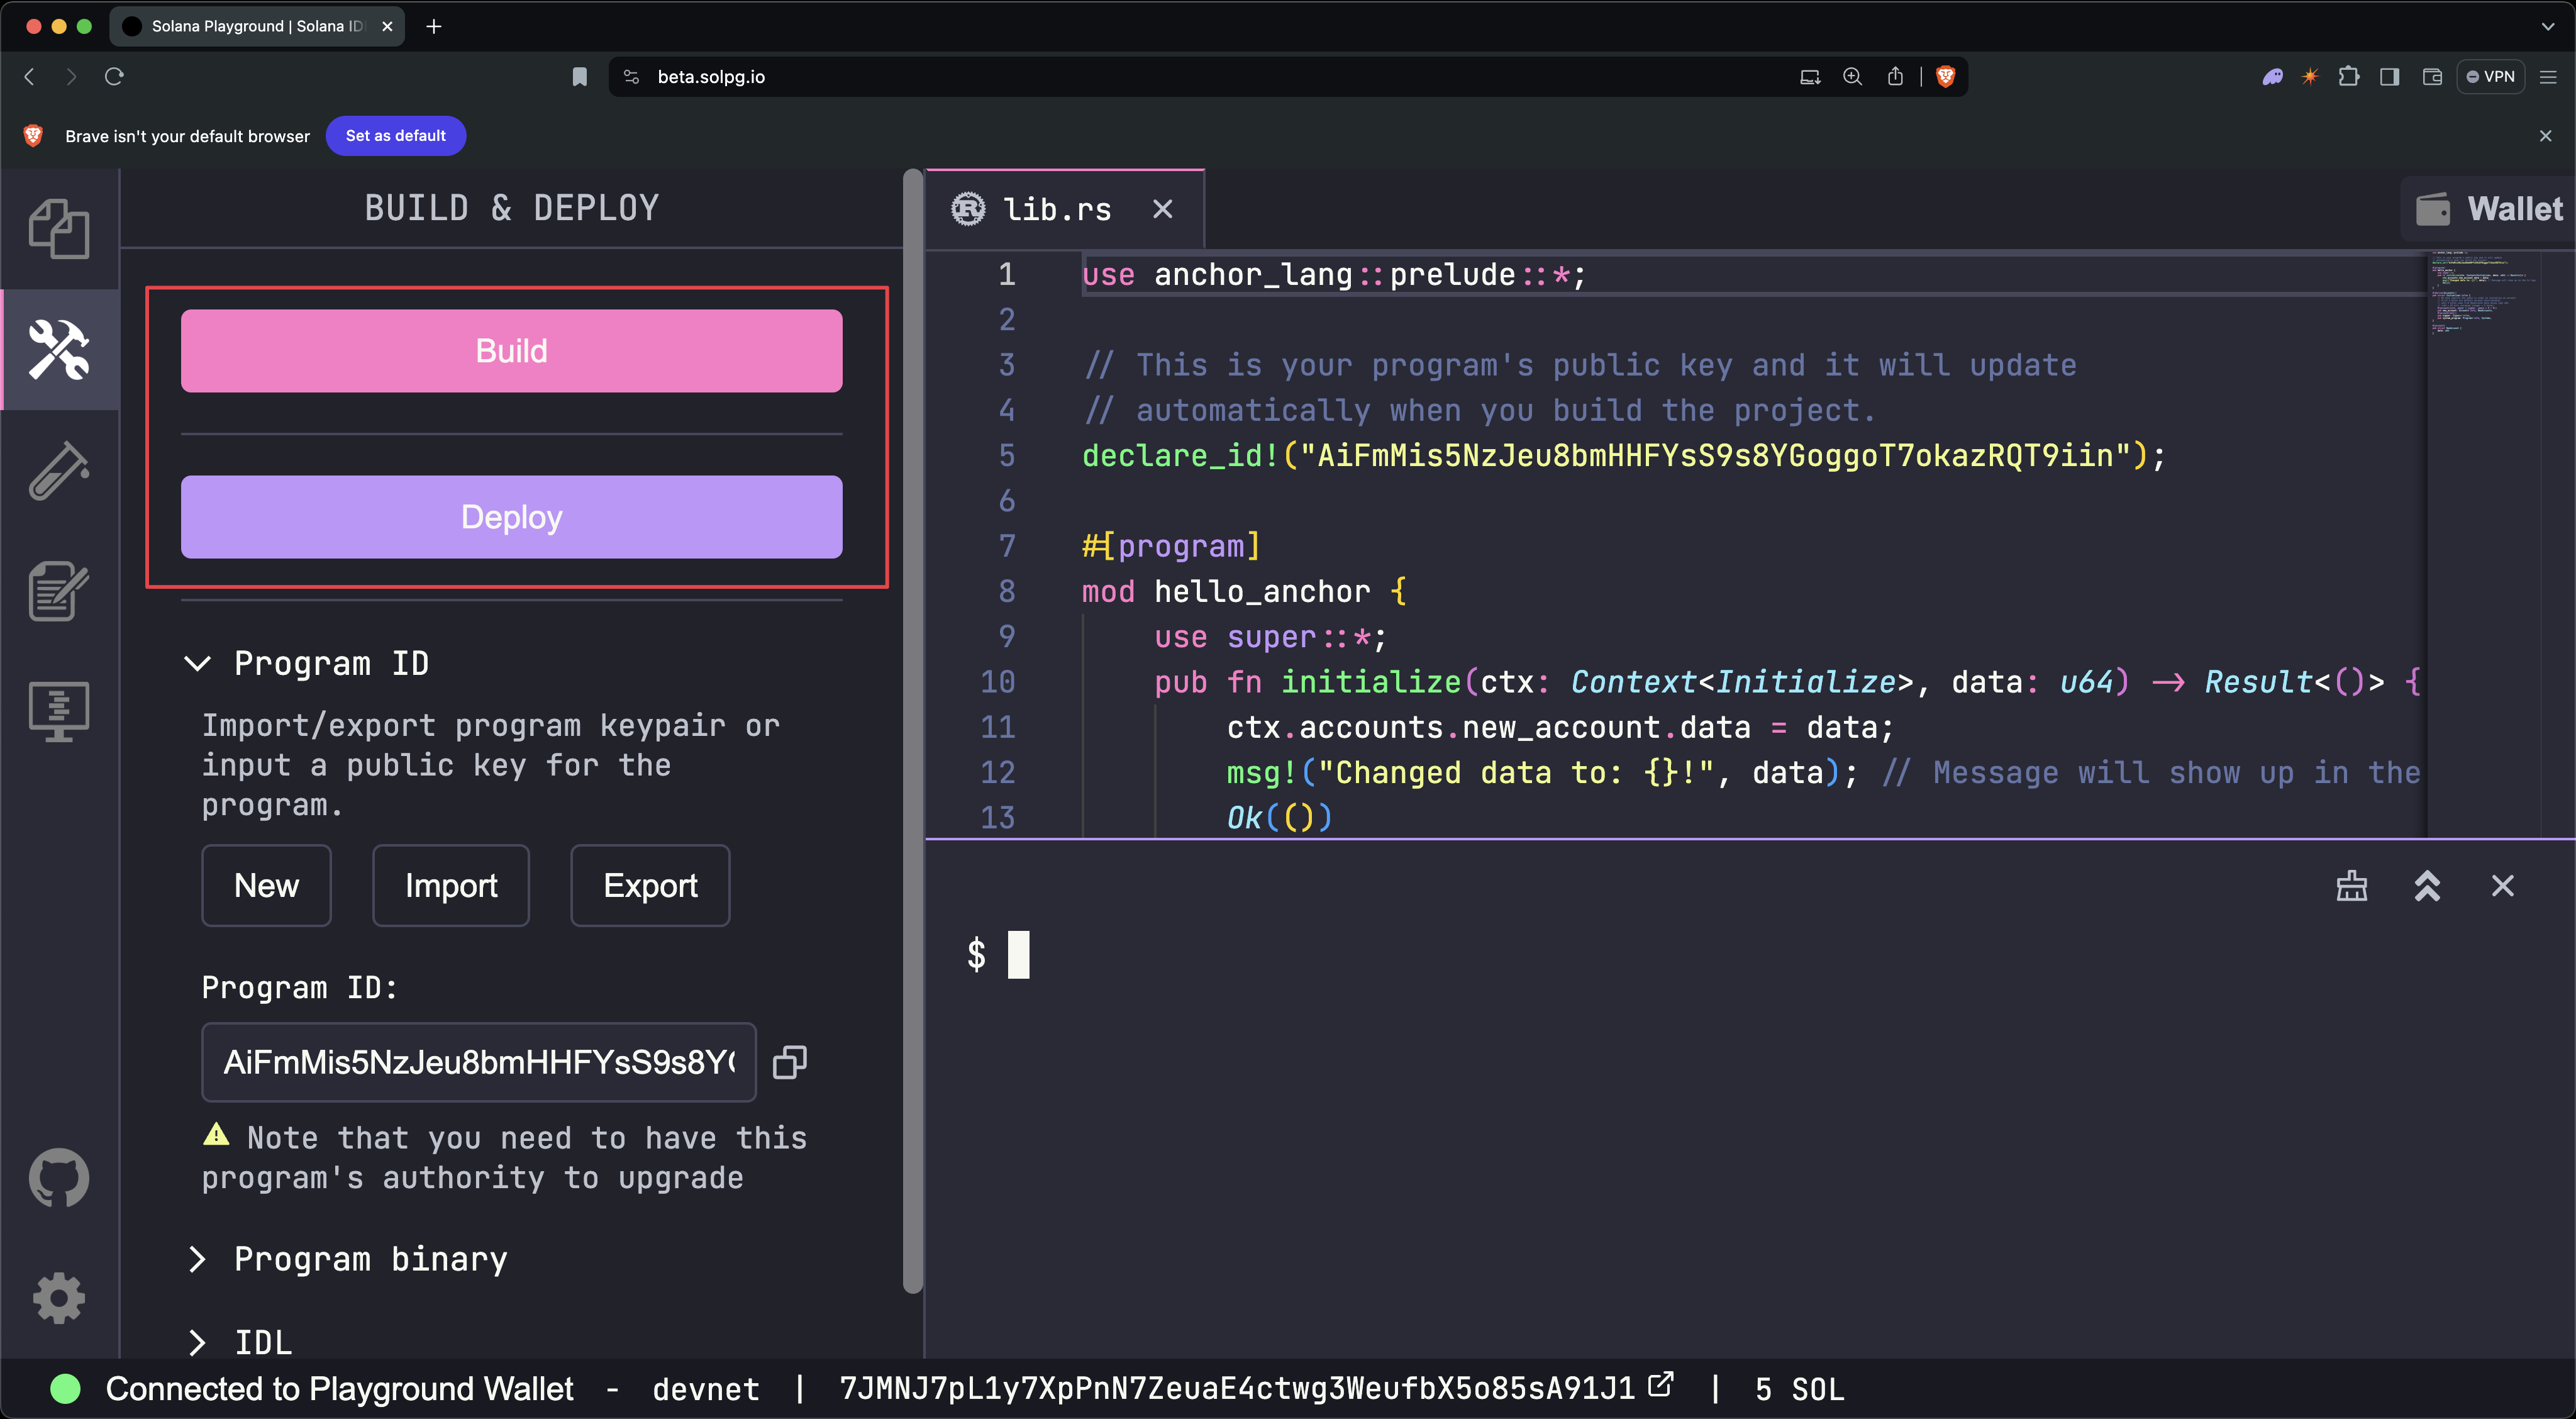 Build and Deploy
Test the Program
- Open the test file called
tests/anchor.test.ts. This file demonstrates how to invoke the program'sinitializestruct from the client.
// No imports needed: web3, anchor, pg and more are globally availabledescribe("Test", () => {it("initialize", async () => {// Generate keypair for the new accountconst newAccountKp = new web3.Keypair();// Send transactionconst data = new BN(42);const txHash = await pg.program.methods.initialize(data).accounts({newAccount: newAccountKp.publicKey,signer: pg.wallet.publicKey,systemProgram: web3.SystemProgram.programId}).signers([newAccountKp]).rpc();console.log(`Use 'solana confirm -v ${txHash}' to see the logs`);// Confirm transactionawait pg.connection.confirmTransaction(txHash);// Fetch the created accountconst newAccount = await pg.program.account.newAccount.fetch(newAccountKp.publicKey);console.log("Onchain data is:", newAccount.data.toString());// Check whether the data onchain is equal to local 'data'assert(data.eq(newAccount.data));});});
- Run the test file
$test
- Store the transaction hash (
TxHash) included in the output
(In the example above, the transaction hash is
3TewJtiUz1EgtT88pLJHvKFzqrzDNuHVi8CfD2mWmHEBAaMfC5NAaHdmr19qQYfTiBace6XUmADvR4Qrhe8gH5uc.)
Note: If preferred, you can use the Test button on the left-side panel.
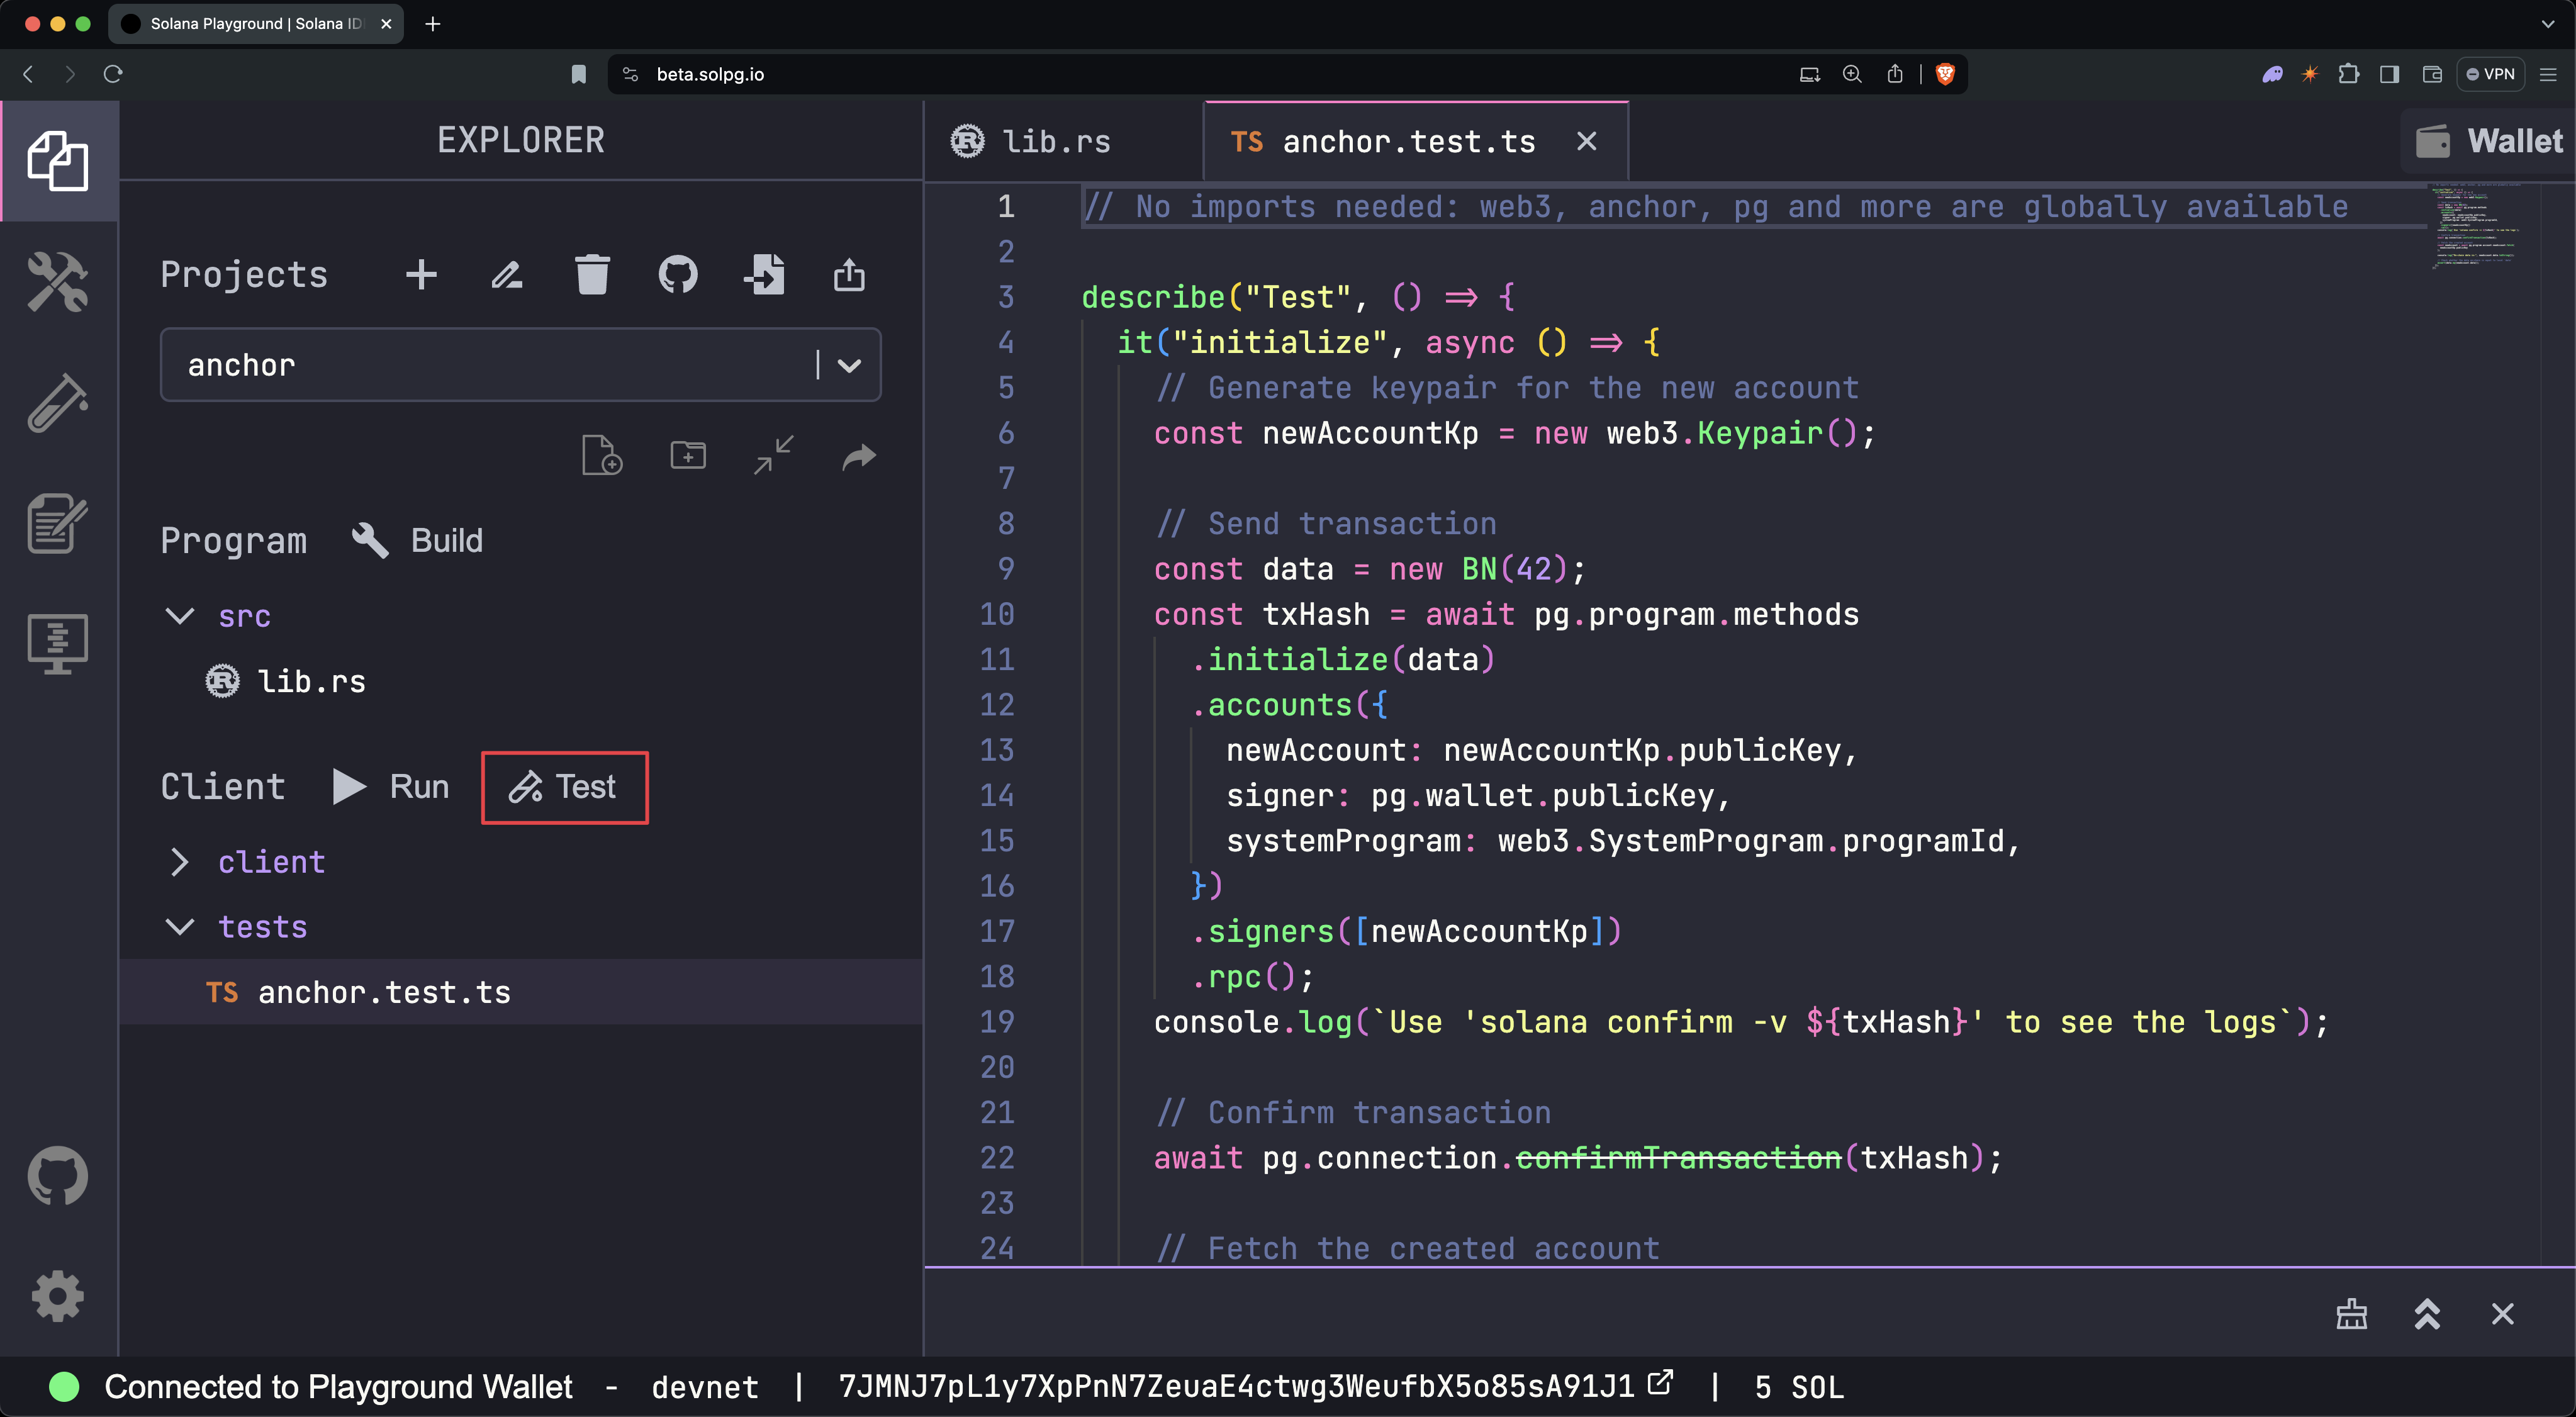 Run Test
- Run
solana confirm -v [TxHash]to view the transaction logs
$solana confirm -v 3TewJtiUz1EgtT88pLJHvKFzqrzDNuHVi8CfD2mWmHEBAaMfC5NAaHdmr19qQYfTiBace6XUmADvR4Qrhe8gH5uc
- View the transaction details
Open either SolanaFM or Solana Explorer and search for the transaction hash.
Solana Explorer: Set the network cluster to devnet, to match that of the
Solana Playground.
Close the Program
Close the program to recover the SOL allocated to the onchain program. To do so,
run solana program close [ProgramID], using the program address stored in the
declare_id!() macro.
$solana program close 2VvQ11q8xrn5tkPNyeraRsPaATdiPx8weLAD8aD4dn2r
Programs can only be closed or updated by an account with upgrade authority. Your Playground wallet automatically becomes the upgrade authority for each program when it is deployed. If the upgrade authority is revoked, the program becomes immutable.
Congratulations! You built and deployed your first Solana program using Anchor.
Next steps
Now that you have deployed your first program, you are ready to explore program-derived addresses and cross-program invocation.
Is this page helpful?