إعداد تكامل محفظة سولانا بسيط في Next.js (App Router) مع @solana/client و
@solana/react-hooks. ستقوم بإنشاء قائمة منسدلة لربط المحفظة ومكون لتحويل SOL.
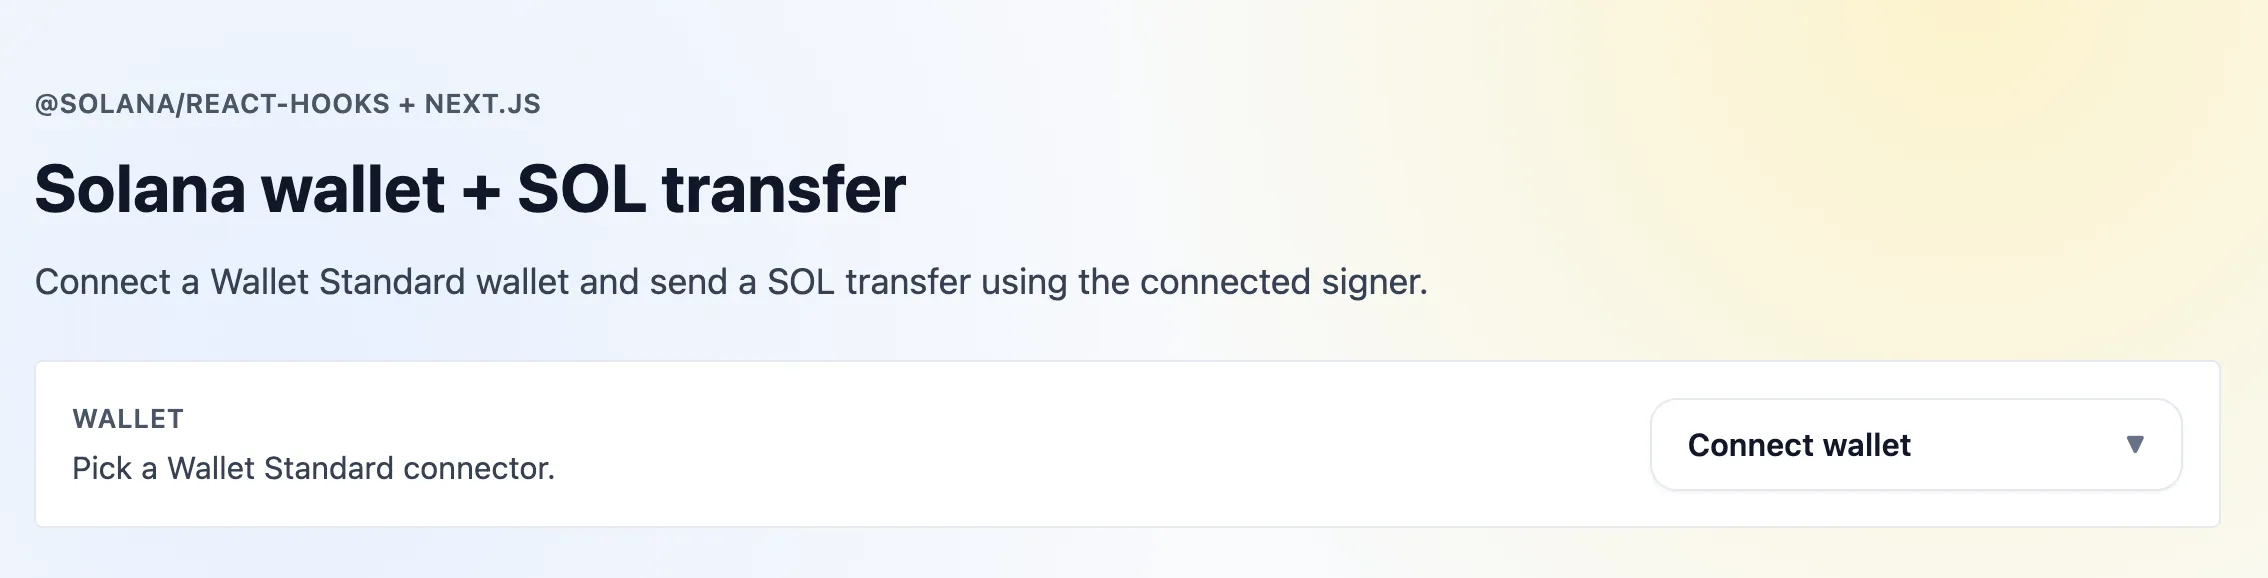 تطبيق Next.js Hooks
الموارد
المتطلبات الأساسية
- Node 20+
- npm
إنشاء مشروع Next.js
$npx create-next-app@latest my-app$cd my-app
عند المطالبة، اقبل جميع الإعدادات الافتراضية (يتضمن المشروع الأساسي Tailwind، والذي يستخدمه هذا الدرس لأنماط الأدوات البسيطة).
تثبيت تبعيات سولانا
$npm install @solana/client@latest @solana/react-hooks@latest @solana/kit@latest
استخدم @latest للبقاء محدثاً. إذا ظهرت تحذيرات من مدير الحزم، يمكنك التثبيت
على المجموعة المختبرة الحالية
(@solana/client@1.1.0 @solana/react-hooks@1.1.0 @solana/kit@5.0.0) والترقية
عند صدور إصدارات جديدة.
1. إنشاء موفر سولانا
app/providers.tsx يستخدم خصائص SolanaProvider المبسطة. قم بتعيين الشبكة
(Devnet افتراضياً).
2. تحديث التخطيط
قم بتغليف تطبيقك بمكون Providers. قم بتحديث app/layout.tsx لاستيراده
واستخدامه:
هذا يغلف التطبيق بأكمله بسياق سولانا بحيث يمكن لجميع المكونات الفرعية الوصول إلى حالة المحفظة والخطافات.
3. زر ربط المحفظة
قائمة منسدلة لربط/فصل محافظ Wallet Standard عبر useConnectWallet /
useDisconnectWallet.
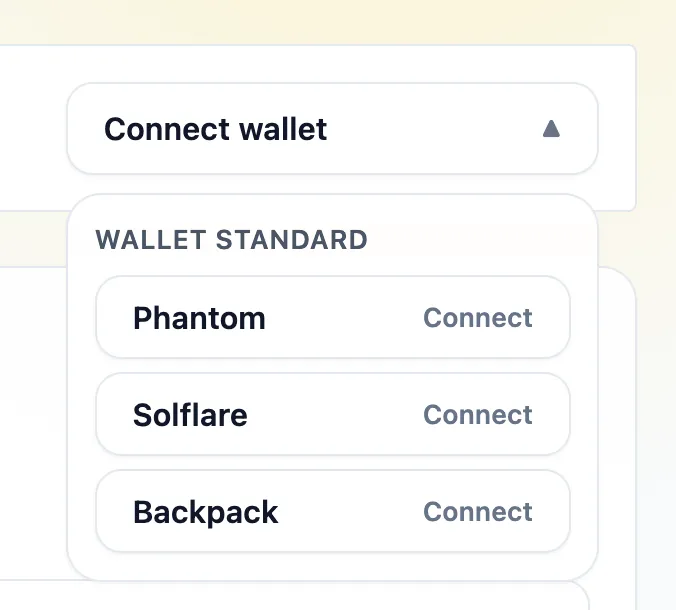 خيارات القائمة المنسدلة للمحفظة
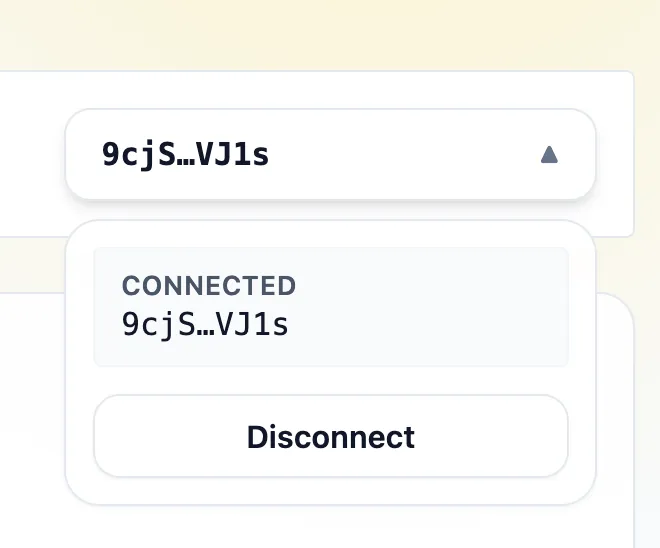 القائمة المنسدلة للمحفظة متصلة
4. تحويل SOL
استخدم useSolTransfer لإرسال تحويل SOL (لامبورتس) إلى أي عنوان.
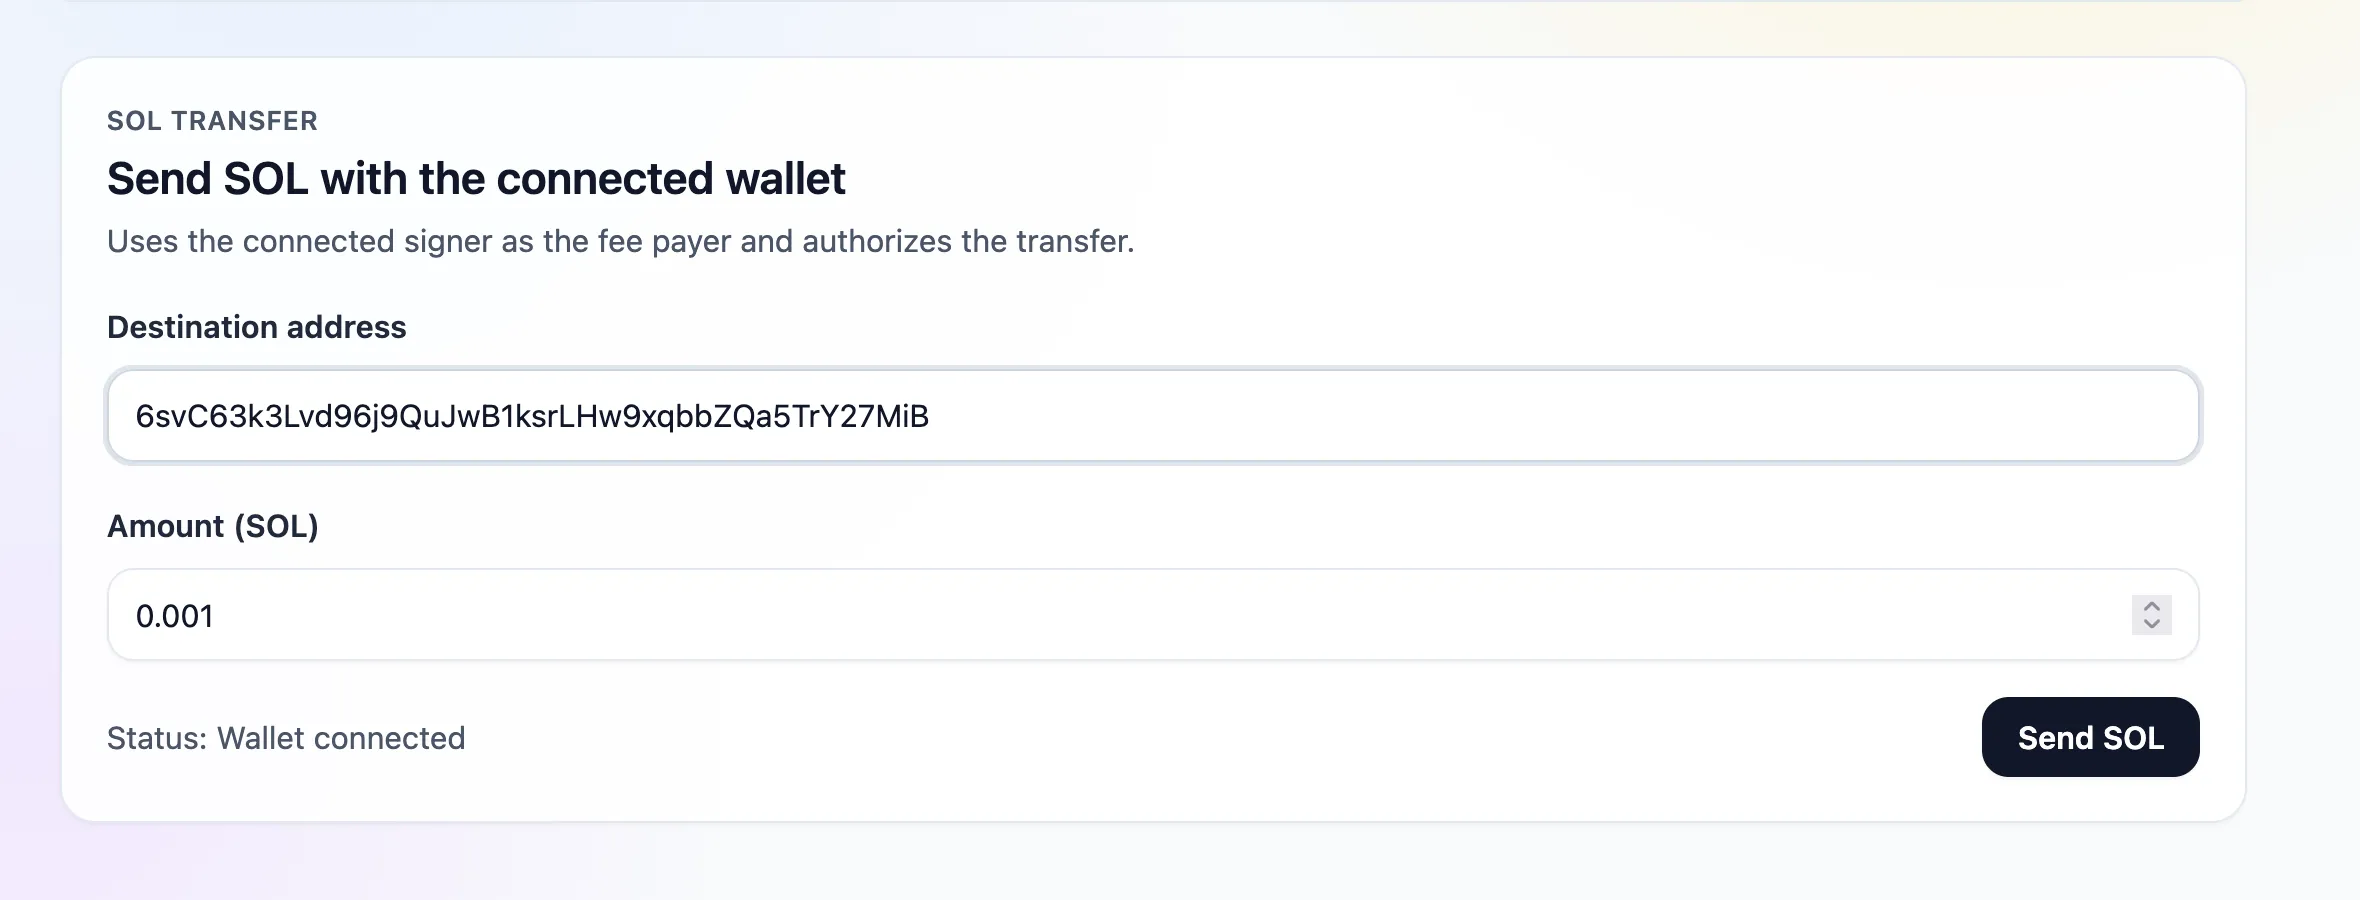 نموذج تحويل SOL مملوء
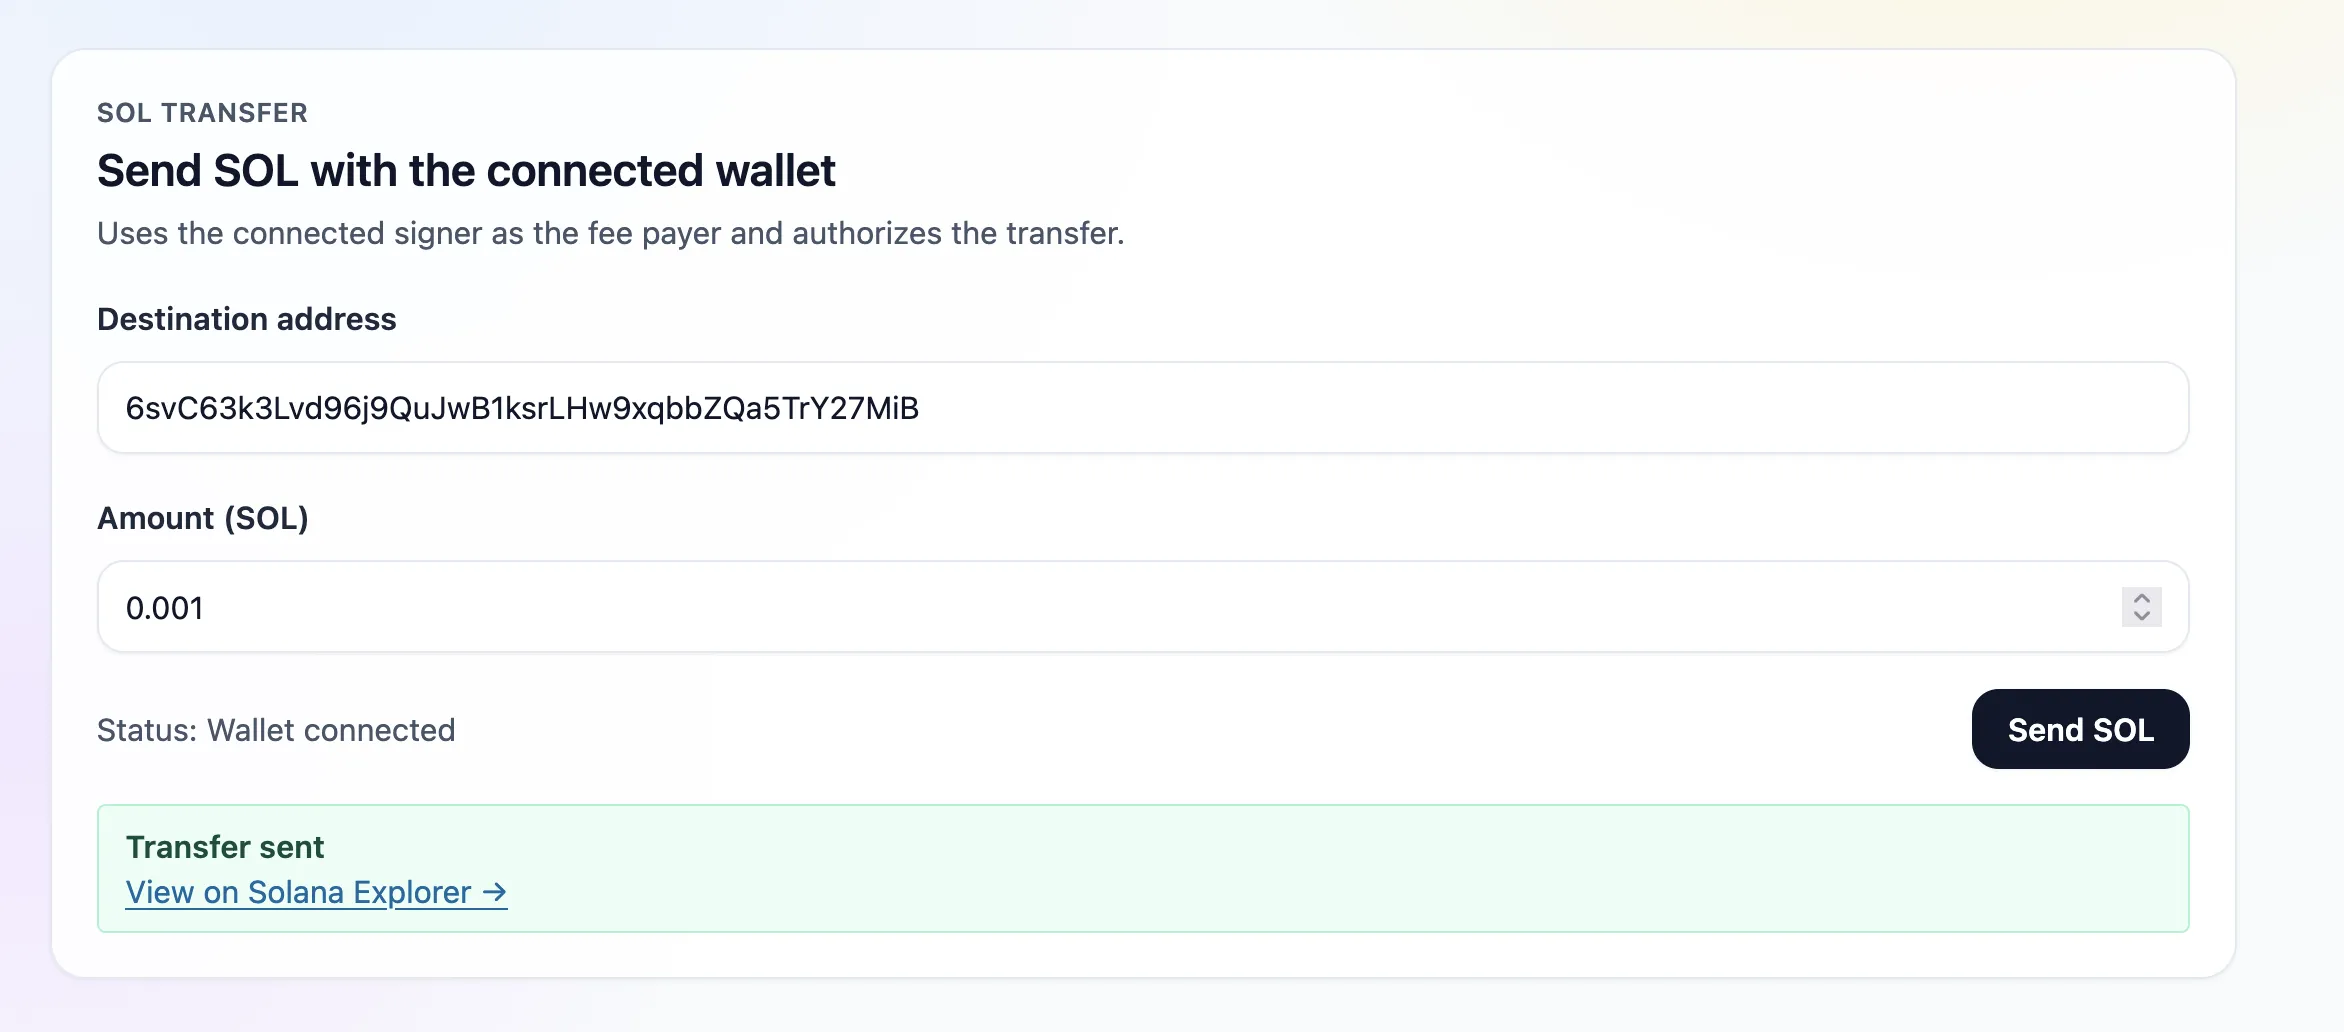 نجاح تحويل SOL
الموصلات هي نفس مجموعة معيار المحفظة (Phantom/Solflare/Backpack/الاكتشاف التلقائي)؛ بمجرد الاتصال، تستخدم تحويلات SOL الموقّع المتصل.
5. الصفحة
app/page.tsx يعرض مكونات اتصال المحفظة وتحويل SOL (لا حاجة إلى Suspense):
6. تشغيل التطبيق
$npm run dev
افتح http://localhost:3000، اتصل بمحفظة Devnet، وأرسل تحويل SOL.
Is this page helpful?