Next.js(App
Router)で@solana/clientと@solana/react-hooksを使用して、最小限のSolanaウォレット統合を設定します。ウォレット接続ドロップダウンとSOL転送コンポーネントを作成します。
 Next.js Hooks App
リソース
前提条件
- Node 20+
- npm
Next.jsプロジェクトの作成
$npx create-next-app@latest my-app$cd my-app
プロンプトが表示されたら、すべてデフォルトを受け入れてください(スターターにはTailwindが含まれており、このチュートリアルではシンプルなユーティリティスタイルに使用します)。
Solana依存関係のインストール
$npm install @solana/client@latest @solana/react-hooks@latest @solana/kit@latest
@latestを使用して最新の状態を保ちます。パッケージマネージャーがピア警告を表示する場合は、現在テスト済みのセット(@solana/client@1.1.0 @solana/react-hooks@1.1.0 @solana/kit@5.0.0)に固定し、新しいリリースが公開されたらアップグレードできます。
1. Solanaプロバイダーの作成
app/providers.tsxは簡素化されたSolanaProvider
propsを使用します。クラスターを設定します(デフォルトはDevnet)。
2. レイアウトの更新
アプリケーションをProvidersコンポーネントでラップします。app/layout.tsxを更新してインポートし、使用します:
これによりアプリ全体がSolanaコンテキストでラップされ、すべての子コンポーネントがウォレットの状態とフックにアクセスできるようになります。
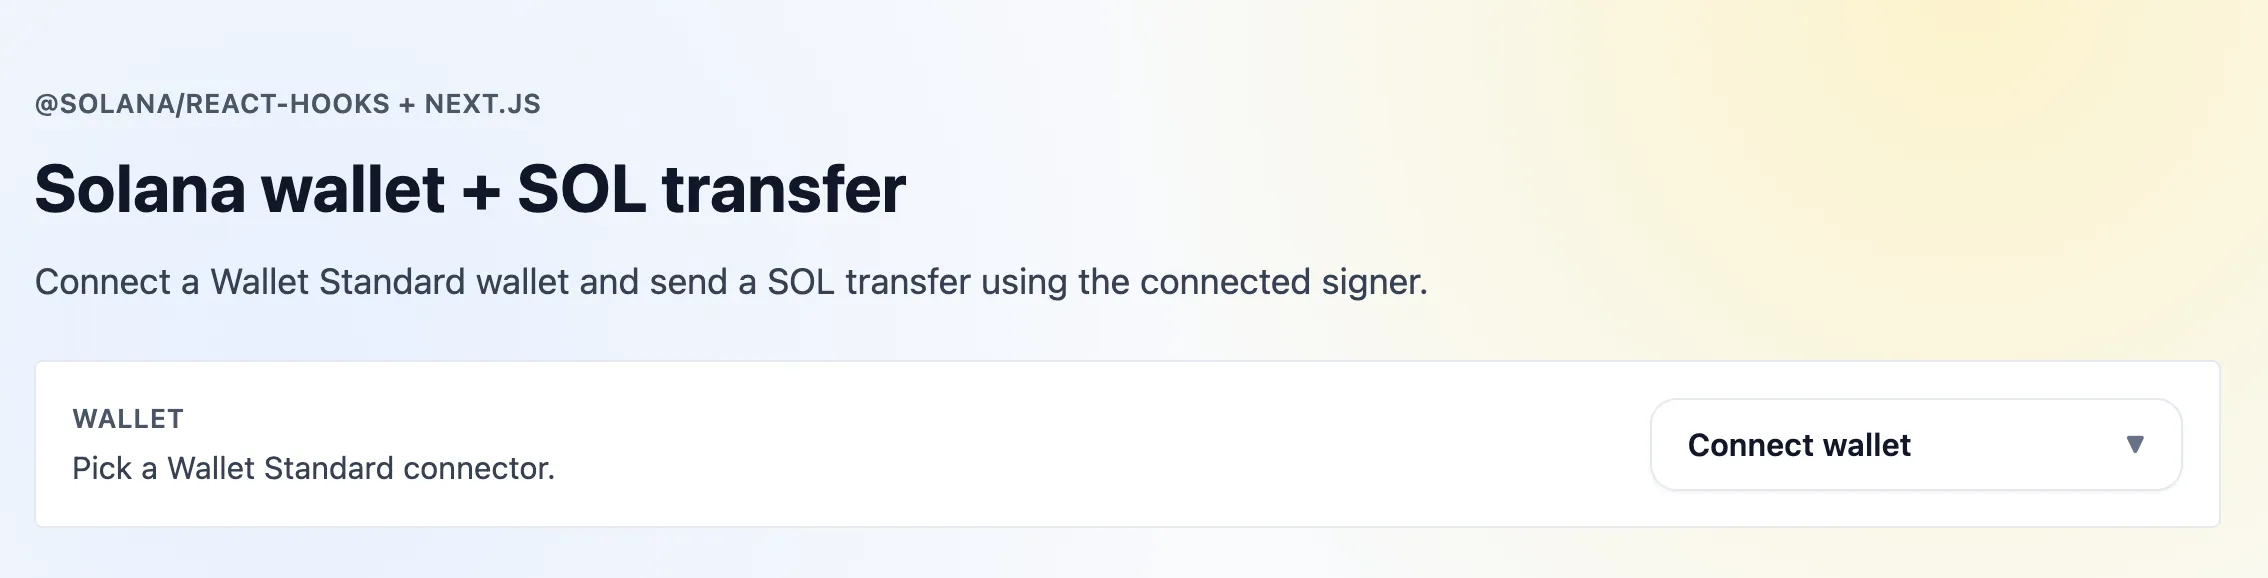
3. ウォレット接続ボタン
useConnectWallet / useDisconnectWalletを介してWallet
Standard準拠ウォレットを接続/切断するためのドロップダウン。
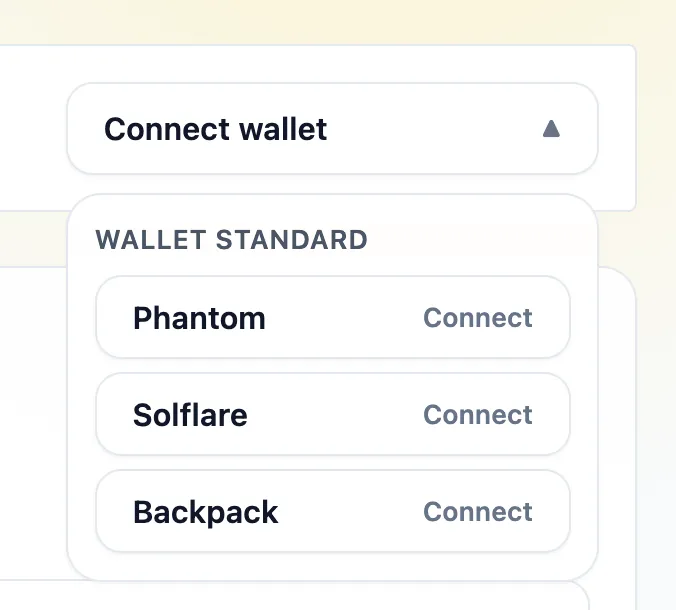 ウォレットドロップダウンオプション
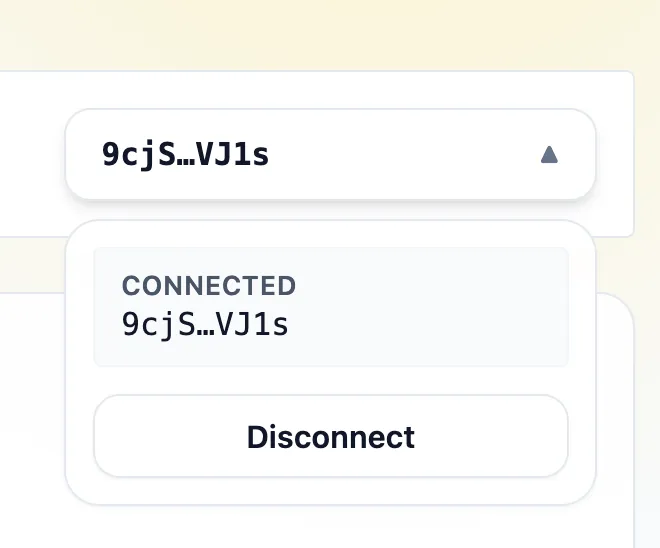 ウォレットドロップダウン接続済み
4. SOL転送
useSolTransferを使用して、任意のアドレスにSOL転送(lamports)を送信します。
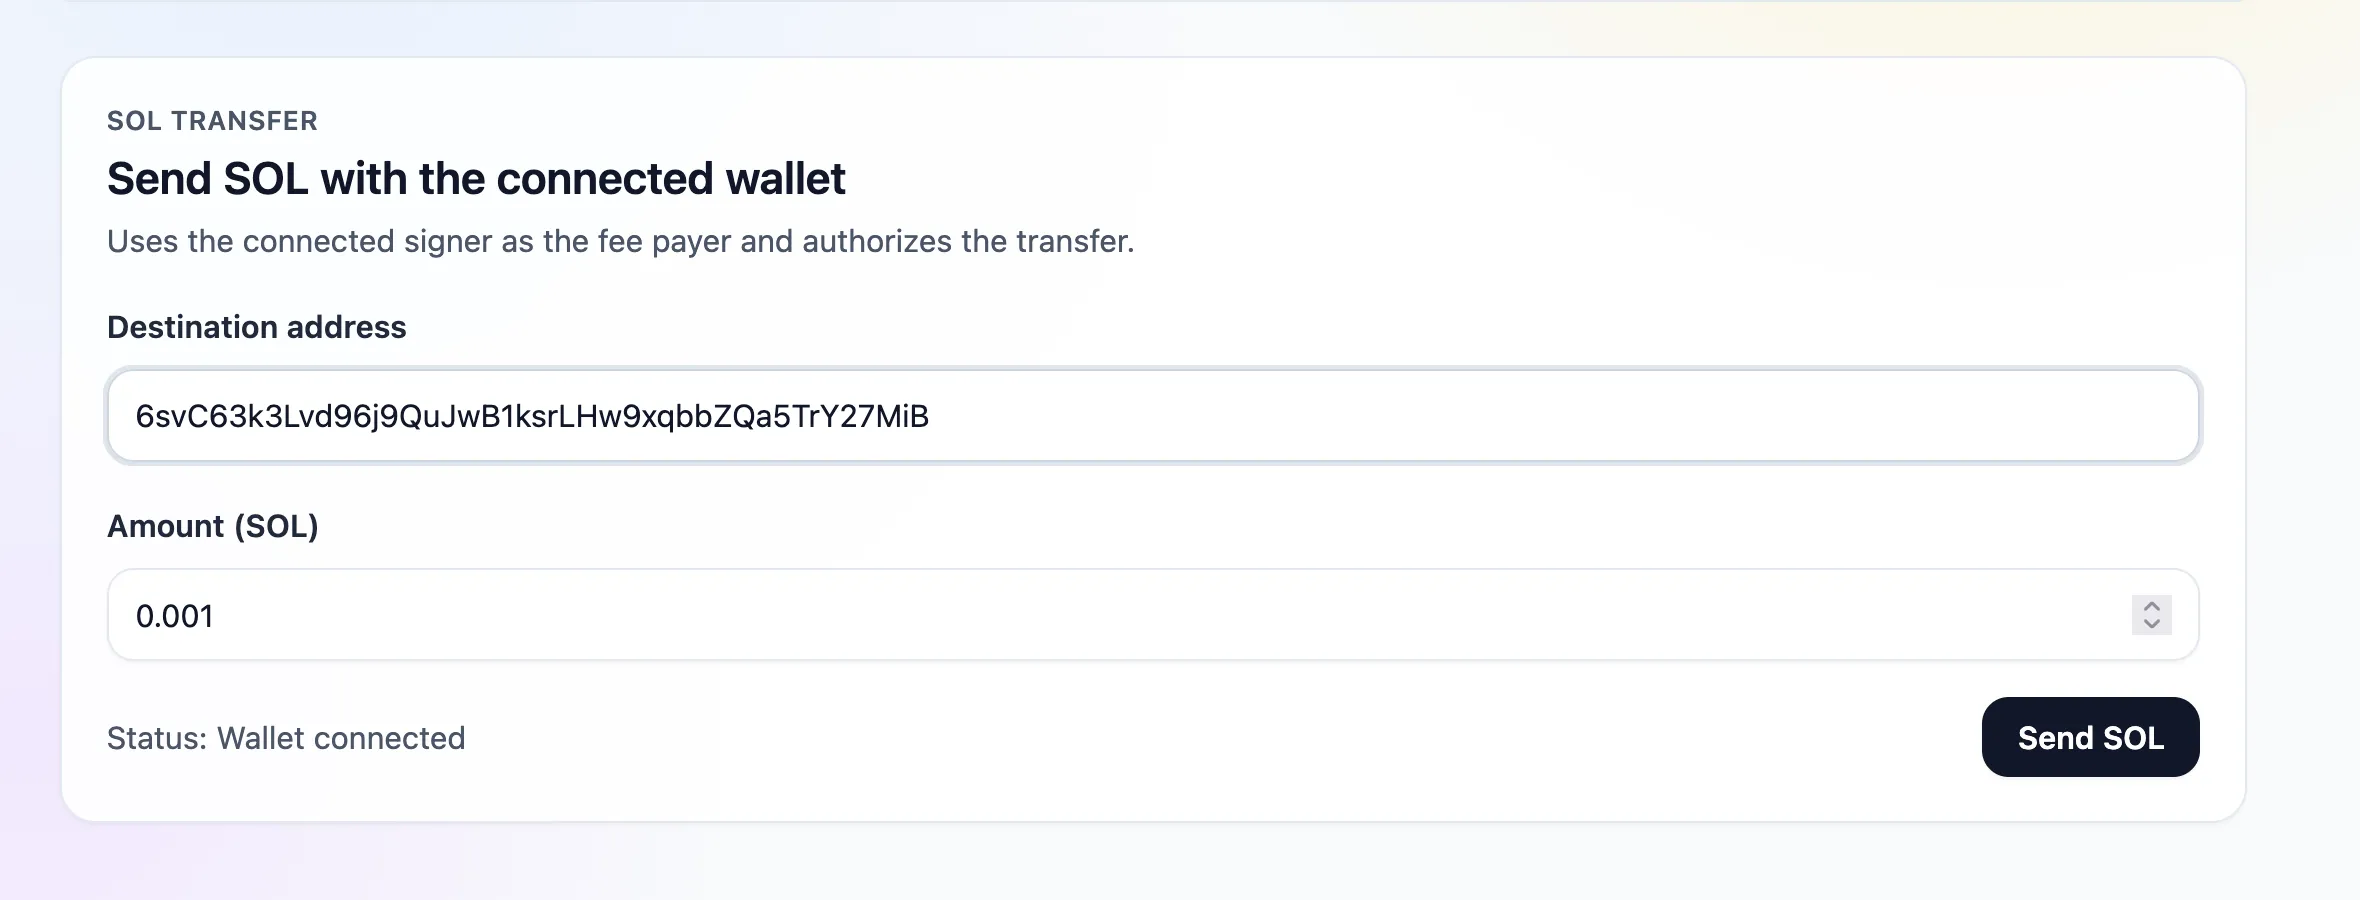 SOL転送フォーム入力済み
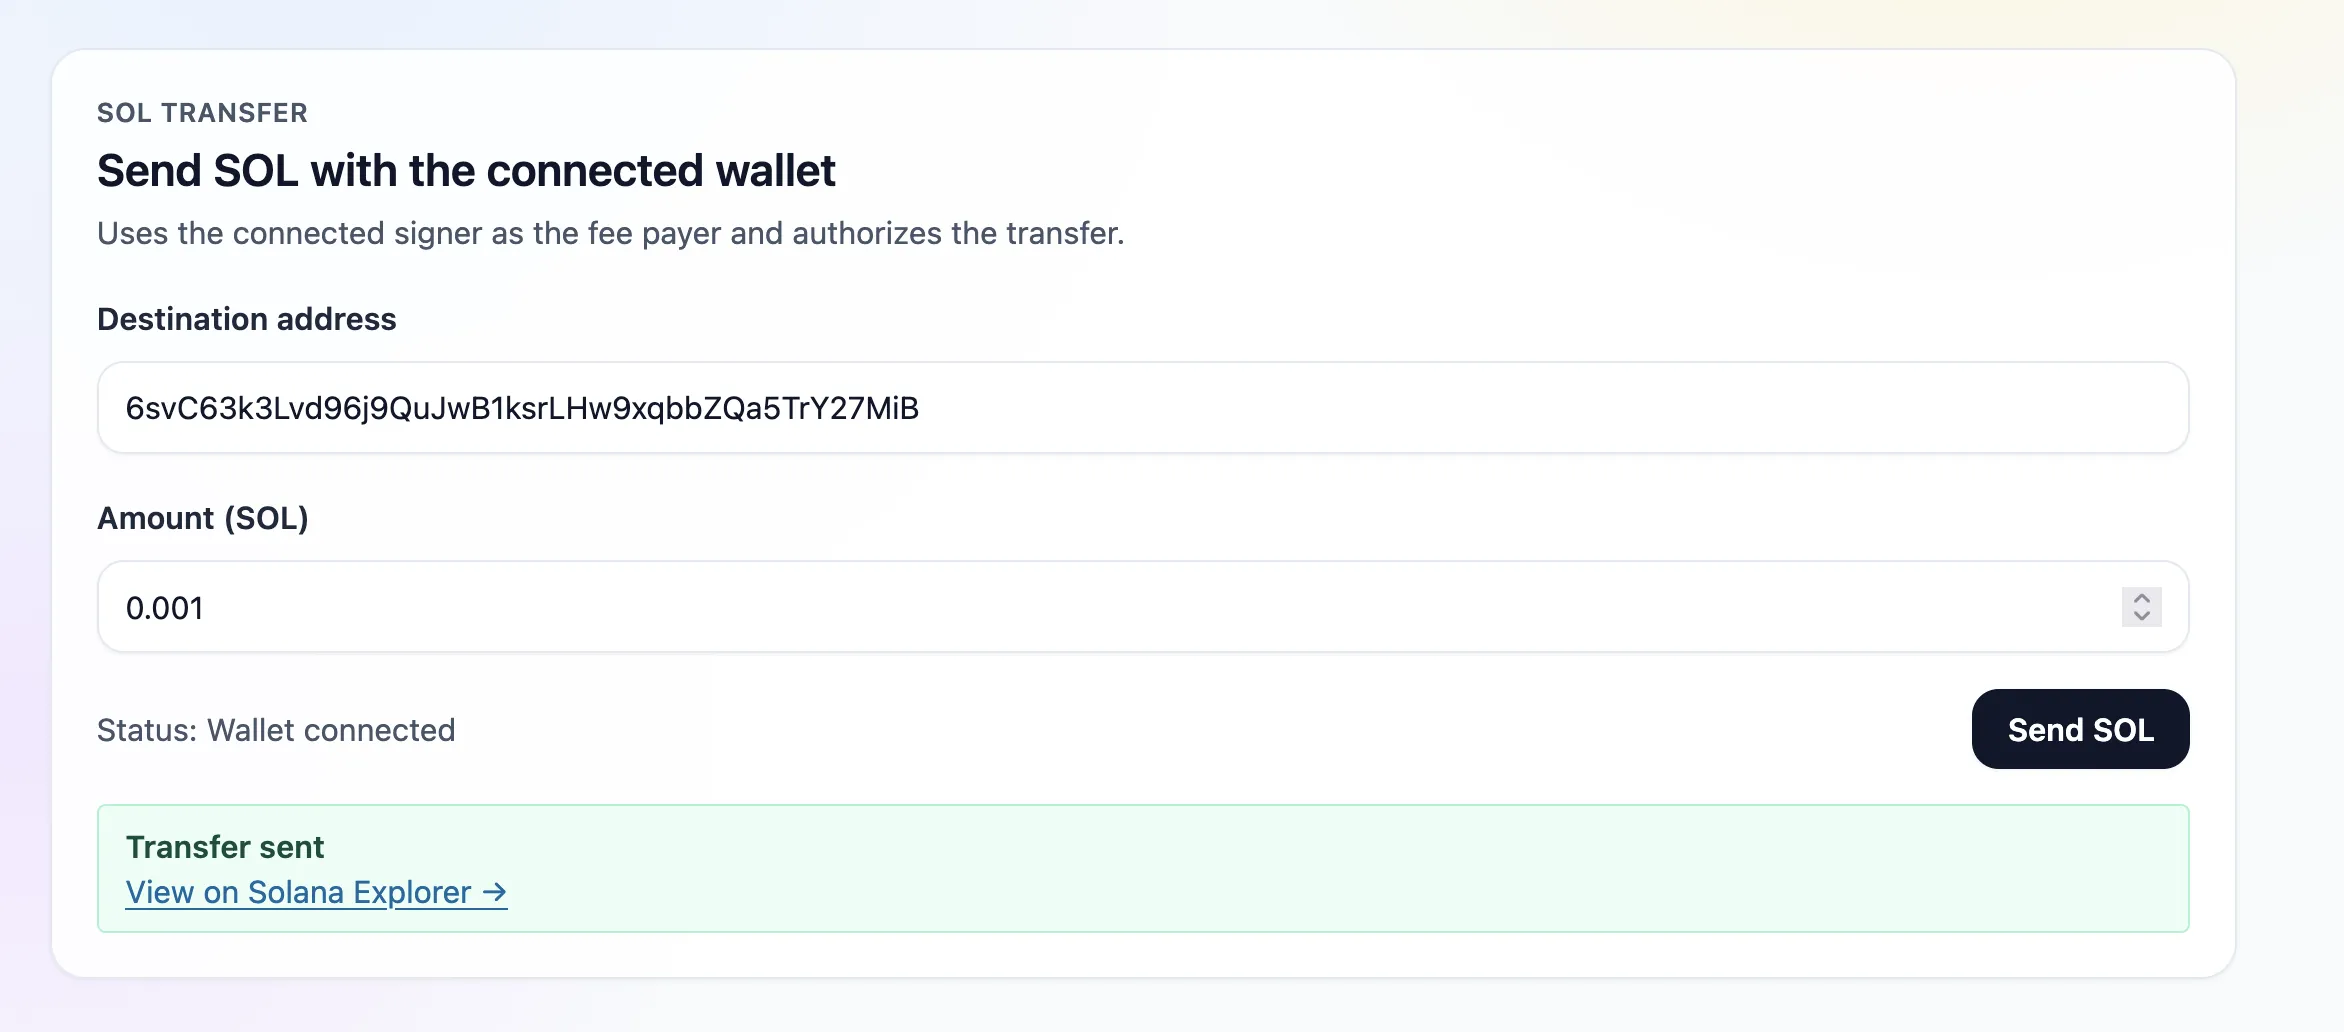 SOL転送成功
コネクタは同じWallet Standardセット(Phantom/Solflare/Backpack/自動検出)です。接続後、SOL転送は接続されたサイナーを使用します。
5. ページ
app/page.tsxは、ウォレット接続とSOL転送コンポーネントをレンダリングします(Suspenseは不要):
6. アプリケーションの実行
$npm run dev
http://localhost:3000 を開き、Devnetウォレットを接続して、SOL転送を送信してください。
Is this page helpful?