Set up a minimal Solana wallet integration in Next.js (App Router) with
@solana/kit, the kit plugins, and @solana/react. You'll create a connect
wallet dropdown and a SOL transfer component.
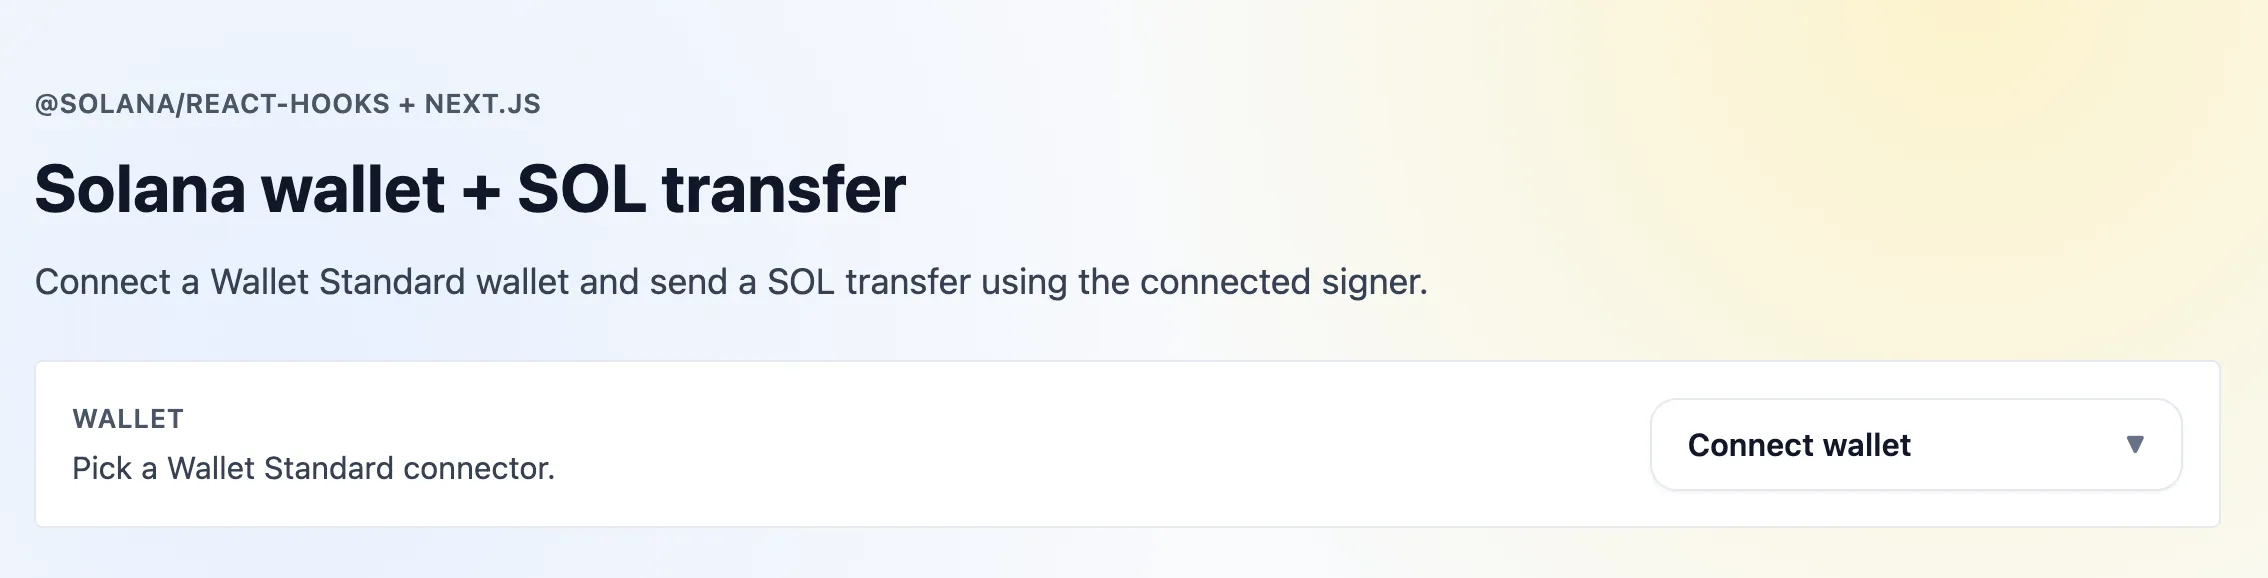 Next.js Kit App
Resources
Prerequisites
- Node 20+
- npm
Create Next.js Project
$npx create-next-app@latest my-app$cd my-app
When prompted, accept all defaults (the starter includes Tailwind, which this tutorial uses for simple utility styles).
Two scaffold tweaks
The default create-next-app output needs two small changes for this tutorial:
- In
tsconfig.json, set"target": "ES2020"(or later). The transfer amounts usebigintliterals such as1_000_000_000n, which require ES2020. - In
app/globals.css, remove the generated@media (prefers-color-scheme: dark)block and thebodybackground rule. This UI is light-only; the dark defaults otherwise override thebg-whiteutility and render the page unreadable in dark mode.
Install Solana dependencies
$npm install @solana/kit @solana/kit-plugin-rpc @solana/kit-plugin-wallet @solana/react @solana-program/system
This tutorial targets Kit 7+, the @solana/kit-plugin-* packages at 0.13+
(0.14+ for @solana/kit-plugin-wallet), and @solana/react 7+.
1. Create Solana Provider
app/providers.tsx builds one client at module scope and publishes it with
ClientProvider. The walletSigner plugin makes the connected wallet the fee
payer and identity; export the client type so components can type useClient.
2. Update Layout
Wrap your application with the Providers component. Update app/layout.tsx to
import and use it:
This wraps the entire app with the Solana context so all child components can access the client and wallet hooks.
3. Wallet Connect Button
Dropdown to connect/disconnect Wallet Standard wallets. useWallets returns the
wallets discovered in the browser; useConnect / useDisconnect return an
ActionResult — this component uses its dispatch, isRunning, and error
fields. Every wallet hook takes the client as its first argument, so pull it
from useClient<AppClient>() first.
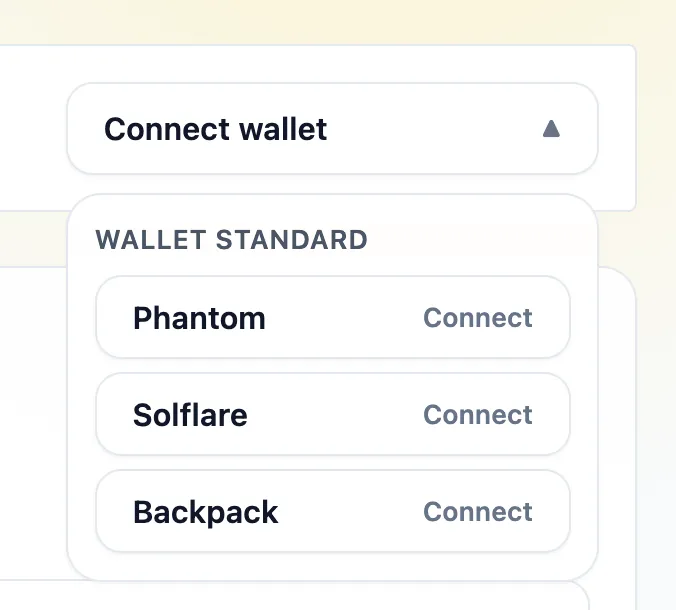 Wallet dropdown options
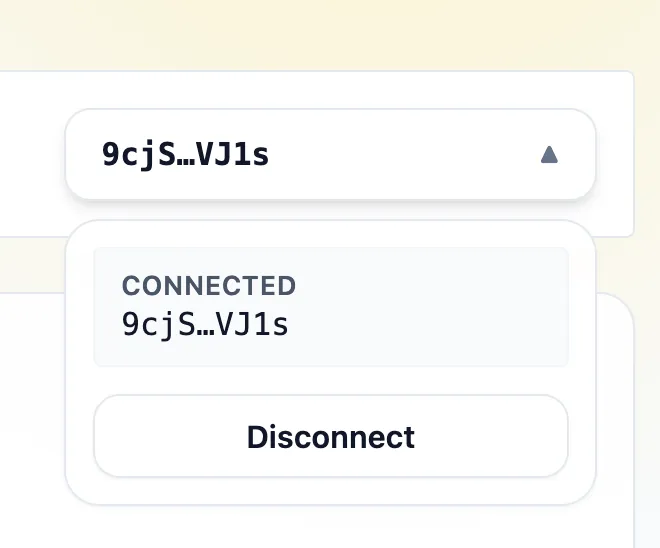 Wallet dropdown connected
4. SOL Transfer
Build a transfer instruction with @solana-program/system and send it through
client.sendTransaction. The connected wallet signs and pays.
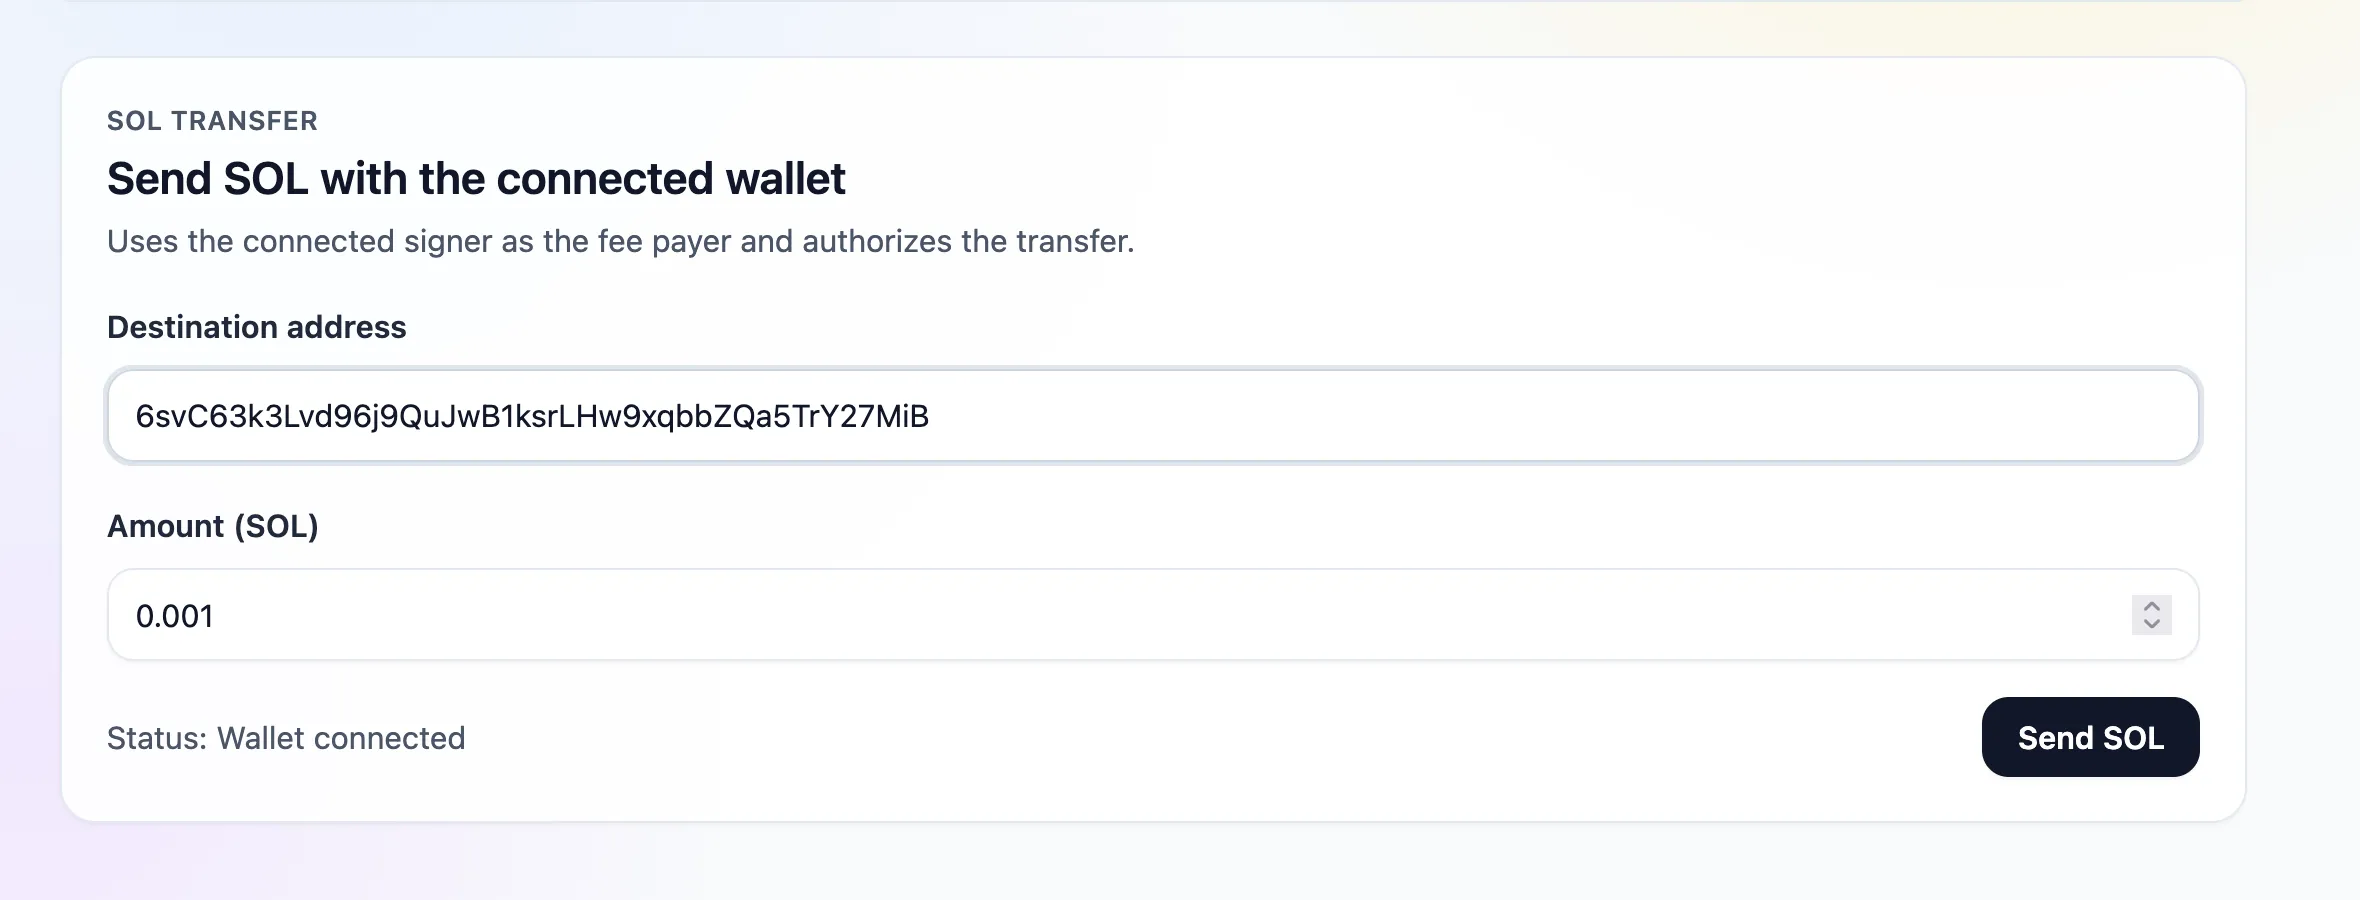 SOL transfer form filled
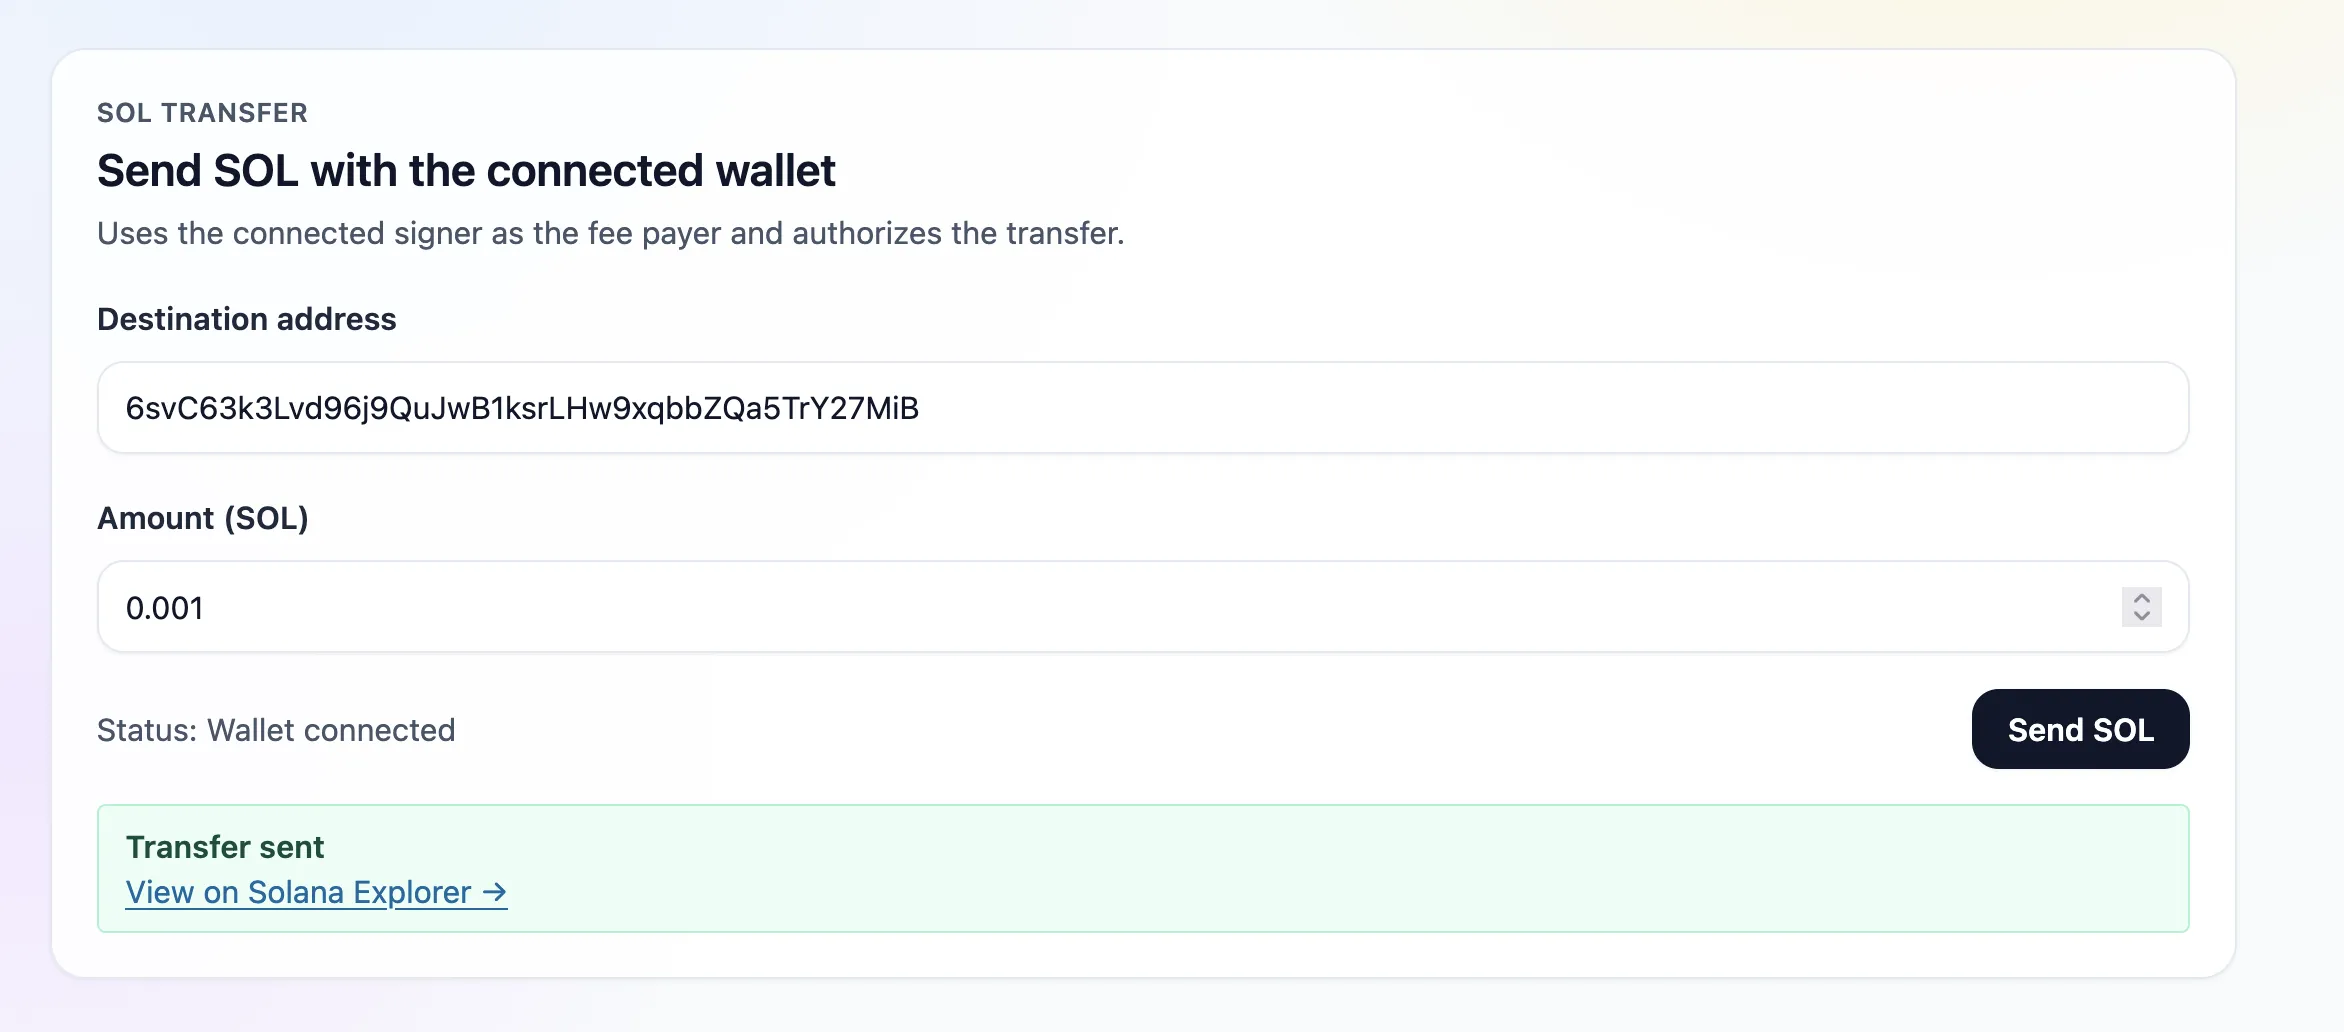 SOL transfer success
Wallets come from Wallet Standard discovery; once connected, the SOL transfer uses the connected signer as the fee payer.
5. Page
app/page.tsx renders the wallet connect and SOL transfer components:
6. Run the Application
$npm run dev
Open http://localhost:3000, connect a Devnet wallet, and send a SOL transfer.
Is this page helpful?